
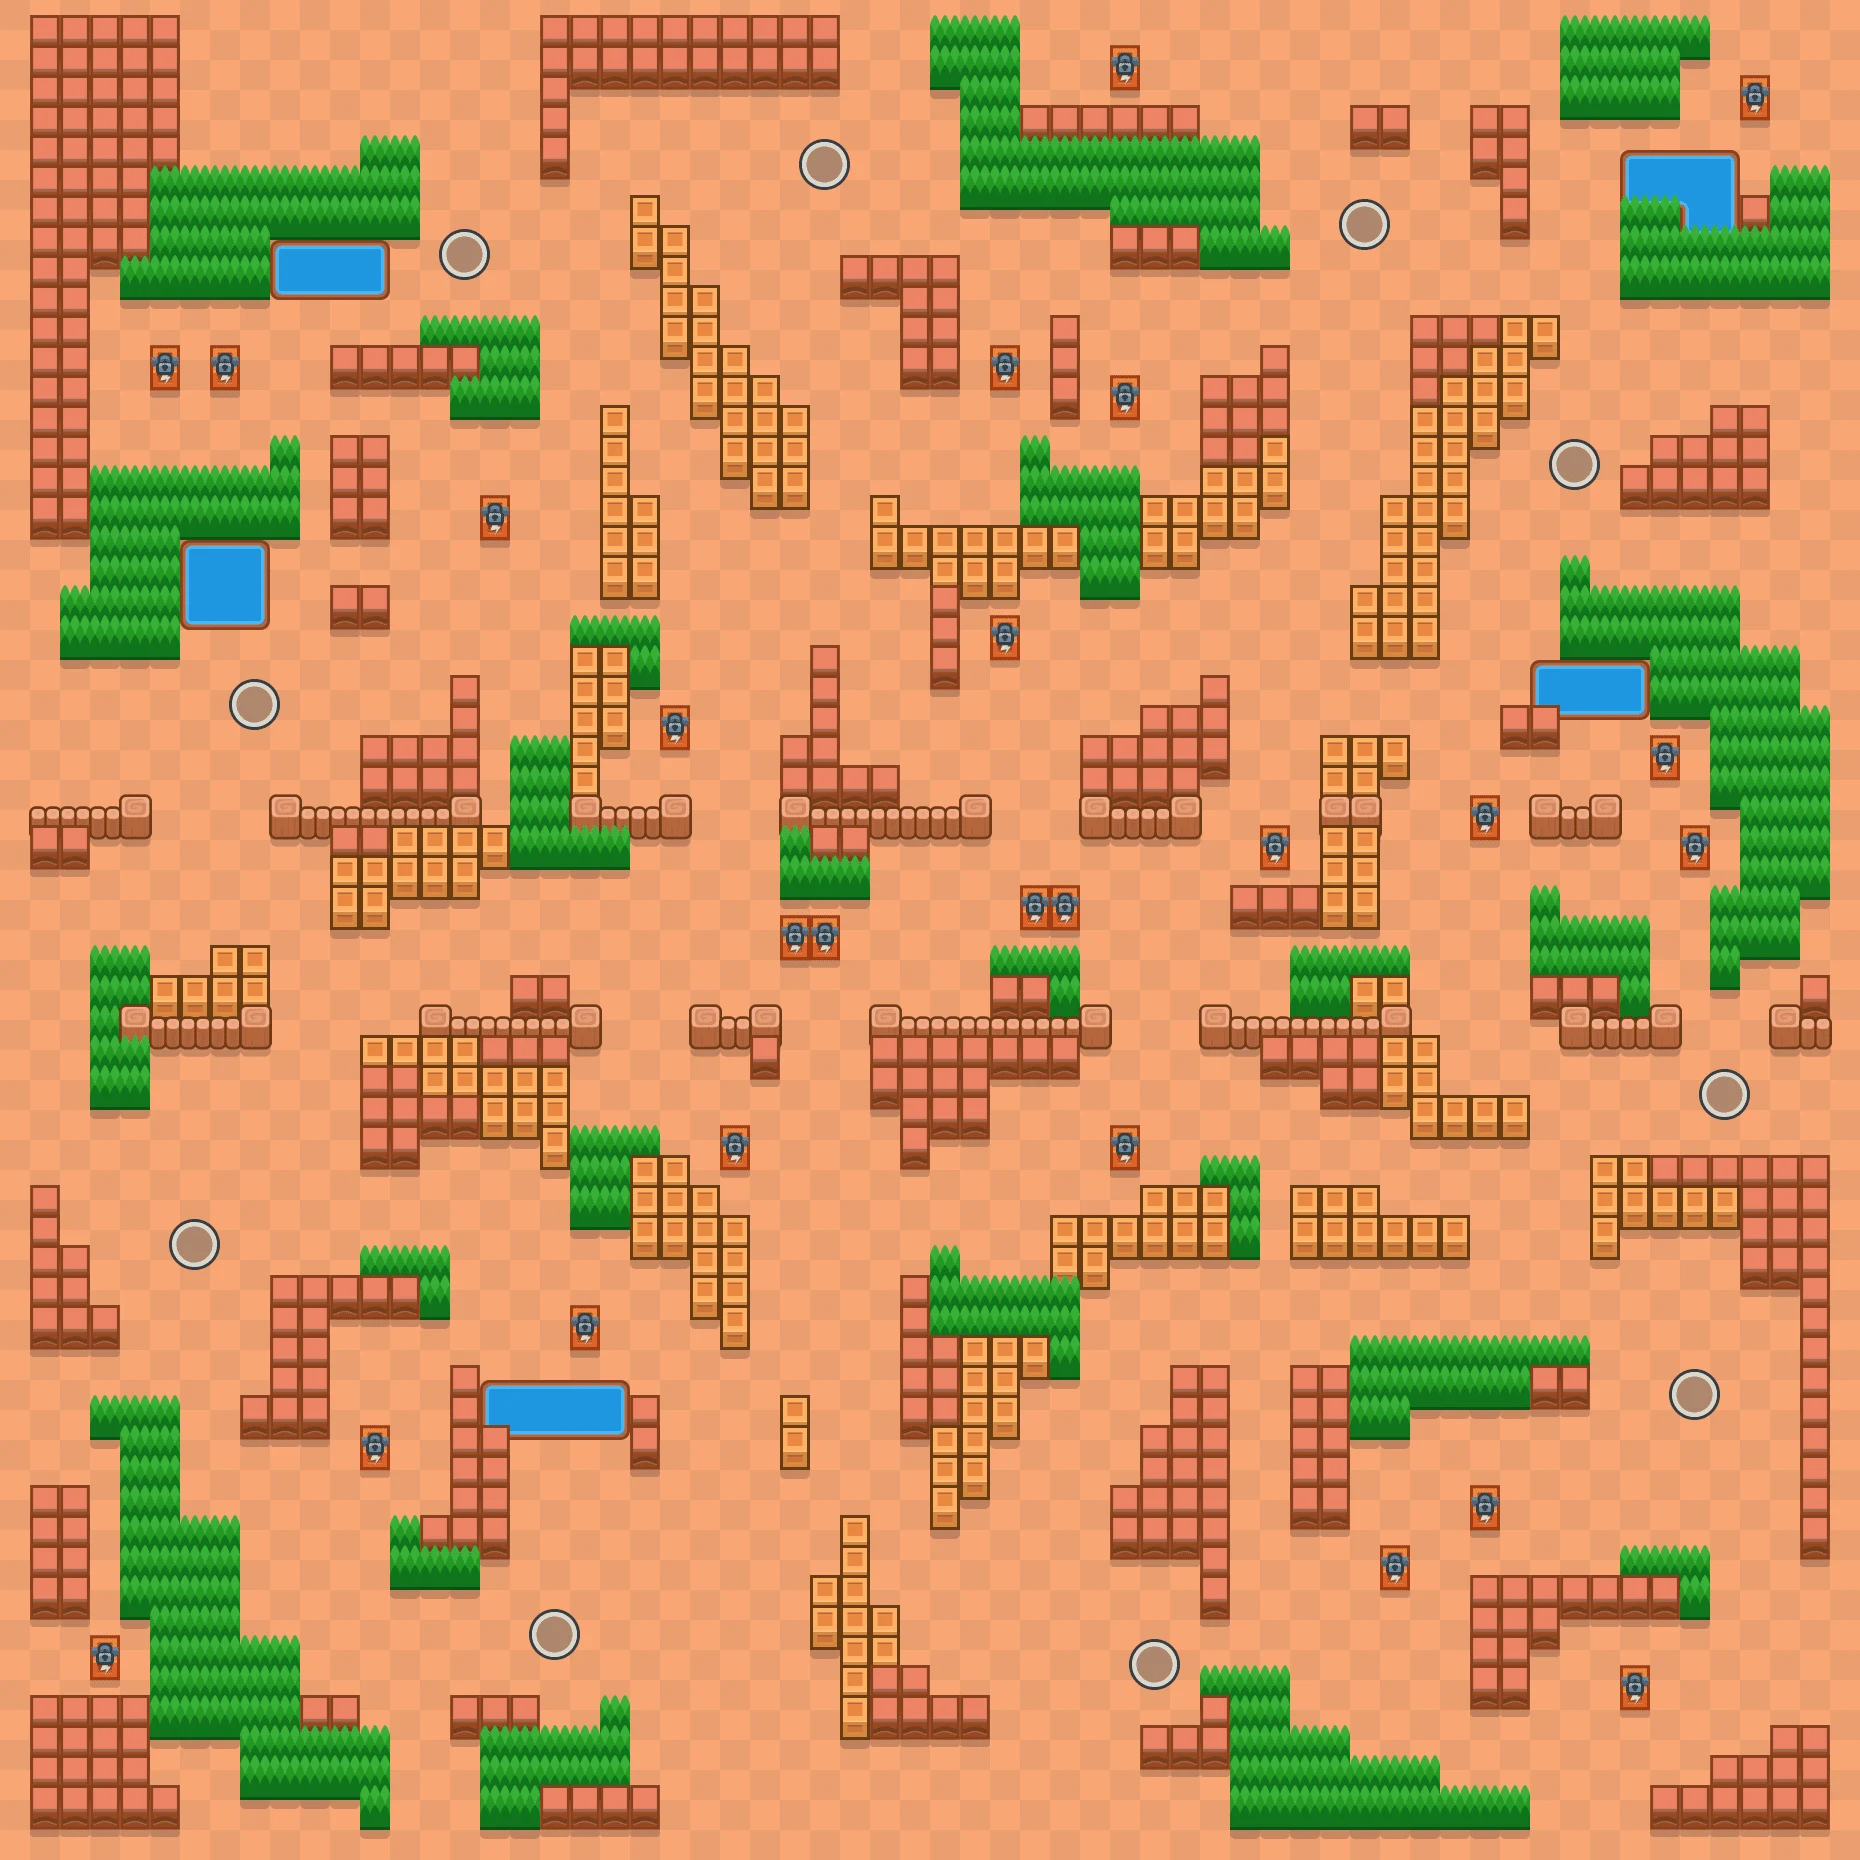
 Solo ShowdownNot currently in rotation. Stats below are from its last appearance (Oct 10, 2026, 6:48 AM).
Starfruit Supernova Best Brawlers
Best Brawlers for Starfruit Supernova
Best Picks
High top 4 rate and high use rate
Winners
Highest top 4 rates on this map
Most Used
Most popular by use rate
Not Recommended
Low top 4 and use rates
Showdown Placement Rankings
107 brawlers with recorded games on this map, ranked by placement
| Rank | Class | Brawler | Tier | ||||
|---|---|---|---|---|---|---|---|
| 1 | Tank |  Rosa Rosa | B | 22,635 | #2.88 | 57% | 75.7% |
| 2 | Tank |  Jacky Jacky | D | 23,730 | #2.98 | 49.5% | 75.3% |
| 3 | Marksman |  Bonnie Bonnie | D | 12,616 | #3.09 | 52.8% | 73.5% |
| 4 | Tank |  Bull Bull | A | 42,792 | #3.18 | 47.2% | 72.1% |
| 5 | Support |  Doug Doug | A | 8,729 | #3.32 | 40.3% | 72% |
| 6 | Damage Dealer |  Nita Nita | D | 46,243 | #3.14 | 52.3% | 71.9% |
| 7 | Tank |  Ollie Ollie | C | 9,674 | #3.42 | 30.9% | 71.9% |
| 8 | Tank |  Meg Meg | D | 30,398 | #3.21 | 47.1% | 71.8% |
| 9 | Tank |  Hank Hank | A | 4,295 | #3.29 | 42.6% | 71.8% |
| 10 | Tank |  Trunk Trunk | S | 9,911 | #3.22 | 45.3% | 71.7% |
| 11 | Tank |  Ash Ash | B | 17,328 | #3.23 | 45.8% | 71.6% |
| 12 | Tank |  El Primo El Primo | C | 58,558 | #3.22 | 46.4% | 71.2% |
| 13 | Tank |  Frank Frank | C | 35,982 | #3.16 | 49.1% | 71.1% |
| 14 | Tank |  Damian Damian | S | 6,708 | #3.35 | 37.3% | 70.9% |
| 15 | Support |  Pam Pam | C | 16,111 | #3.21 | 50.9% | 70.8% |
| 16 | Tank |  Draco Draco | A | 6,393 | #3.32 | 41% | 70.7% |
| 17 | Damage Dealer |  Pearl Pearl | B | 22,274 | #3.37 | 46.2% | 69.8% |
| 18 | Assassin |  Sam Sam | B | 6,410 | #3.36 | 45.4% | 69.6% |
| 19 | Damage Dealer |  Shelly Shelly | D | 116,060 | #3.41 | 43.6% | 69.6% |
| 20 | Support |  Wendy Wendy | S | 10,694 | #3.42 | 40.3% | 69.5% |
| 21 | Tank |  Buster Buster | C | 11,255 | #3.4 | 41.3% | 69.2% |
| 22 | Controller |  Willow Willow | B | 4,365 | #3.54 | 36.2% | 69.2% |
| 23 | Damage Dealer |  Carl Carl | C | 28,183 | #3.46 | 46.4% | 68.6% |
| 24 | Controller |  Charlie Charlie | C | 15,138 | #3.56 | 41.6% | 68.5% |
| 25 | Tank |  Darryl Darryl | D | 32,531 | #3.49 | 40.9% | 68.4% |
| 26 | Assassin |  Melodie Melodie | C | 18,139 | #3.59 | 36.2% | 68.2% |
| 27 | Assassin |  Edgar Edgar | B | 176,518 | #3.45 | 45% | 68% |
| 28 | Controller |  Gale Gale | C | 20,105 | #3.55 | 42% | 68% |
| 29 | Marksman |  Maisie Maisie | B | 24,595 | #3.51 | 42.4% | 67.8% |
| 30 | Support |  Poco Poco | C | 27,015 | #3.51 | 42.7% | 67.7% |
| 31 | Damage Dealer |  Lola Lola | A | 8,496 | #3.42 | 47.1% | 67.6% |
| 32 | Tank |  Bibi Bibi | C | 46,333 | #3.52 | 39.1% | 67.5% |
| 33 | Artillery |  Barley Barley | D | 26,689 | #3.48 | 48.4% | 67.3% |
| 34 | Assassin |  Mico Mico | D | 9,657 | #3.6 | 33.4% | 67.2% |
| 35 | Marksman |  Belle Belle | B | 16,630 | #3.6 | 42% | 67.1% |
| 36 | Controller |  Lou Lou | C | 17,293 | #3.69 | 38.6% | 67% |
| 37 | Damage Dealer |  Moe Moe | B | 3,189 | #3.85 | 32.6% | 67% |
| 38 | Controller |  Bo Bo | B | 17,473 | #3.65 | 41.6% | 66.8% |
| 39 | Support |  Gray Gray | A | 5,863 | #3.69 | 38.4% | 66.4% |
| 40 | Controller |  Sandy Sandy | C | 14,074 | #3.63 | 34.1% | 66.3% |
| 41 | Damage Dealer |  Lumi Lumi | A | 8,093 | #3.72 | 37.1% | 66.3% |
| 42 | Artillery |  Juju Juju | A | 3,570 | #3.68 | 42.2% | 66.2% |
| 43 | Controller |  Jessie Jessie | D | 26,172 | #3.6 | 46.6% | 65.8% |
| 44 | Assassin |  Gigi Gigi | A | 10,501 | #3.67 | 37.7% | 65.7% |
| 45 | Assassin |  Starr Nova Starr Nova | S | 16,456 | #3.68 | 37.4% | 65.5% |
| 46 | Marksman |  Janet Janet | B | 6,581 | #3.71 | 40.1% | 65.4% |
| 47 | Controller |  Mr. P Mr. P | D | 13,412 | #3.72 | 43.3% | 65.4% |
| 48 | Damage Dealer |  8-Bit 8-Bit | D | 42,190 | #3.66 | 41.3% | 65.1% |
| 49 | Marksman |  Brock Brock | C | 68,257 | #3.69 | 41.9% | 65.1% |
| 50 | Support |  Jae-Yong Jae-Yong | B | 2,258 | #3.8 | 25.9% | 65% |
| 51 | Damage Dealer |  R-T R-T | B | 3,702 | #3.8 | 34.6% | 64.9% |
| 52 | Tank |  Bolt Bolt | B | 4,761 | #3.94 | 28.8% | 64.9% |
| 53 | Assassin |  Lily Lily | D | 29,046 | #3.76 | 33.2% | 64.8% |
| 54 | Assassin |  Alli Alli | D | 13,203 | #3.89 | 29.8% | 64.8% |
| 55 | Controller |  Otis Otis | C | 19,267 | #3.75 | 42.1% | 64.2% |
| 56 | Artillery |  Penny Penny | D | 19,083 | #3.72 | 40.1% | 64.1% |
| 57 | Controller |  Meeple Meeple | A | 5,947 | #3.79 | 37.1% | 64% |
| 58 | Damage Dealer |  Clancy Clancy | C | 12,397 | #3.78 | 41.2% | 63.9% |
| 59 | Assassin |  Fang Fang | C | 29,287 | #3.82 | 35.3% | 63.8% |
| 60 | Artillery |  Larry & Lawrie Larry & Lawrie | C | 17,468 | #3.77 | 44.1% | 63.3% |
| 61 | Controller |  Gene Gene | D | 11,049 | #3.98 | 28.4% | 63.3% |
| 62 | Assassin |  Cordelius Cordelius | C | 30,308 | #3.9 | 36.4% | 63.2% |
| 63 | Controller |  Finx Finx | A | 6,136 | #3.99 | 29.4% | 63.1% |
| 64 | Controller |  Griff Griff | B | 48,210 | #3.82 | 37.7% | 62.9% |
| 65 | Damage Dealer |  Chester Chester | A | 17,577 | #3.85 | 35.1% | 62.7% |
| 66 | Assassin |  Shade Shade | C | 90,396 | #3.91 | 32.3% | 62.7% |
| 67 | Support |  Berry Berry | C | 13,568 | #4 | 36.1% | 62.6% |
| 68 | Marksman |  Bea Bea | C | 18,772 | #3.96 | 37% | 62.5% |
| 69 | Damage Dealer |  Chuck Chuck | B | 2,738 | #3.83 | 34.9% | 62.4% |
| 70 | Marksman |  Pierce Pierce | S | 8,859 | #3.93 | 36% | 62.3% |
| 71 | Support |  Gus Gus | S+ | 35,972 | #3.95 | 34.8% | 62.2% |
| 72 | Assassin |  Buzz Buzz | B | 35,972 | #3.87 | 35.8% | 62.1% |
| 73 | Marksman |  Nani Nani | B | 13,095 | #3.94 | 38.7% | 61.7% |
| 74 | Controller |  Squeak Squeak | C | 19,978 | #4.04 | 31.3% | 61.7% |
| 75 | Marksman |  Mandy Mandy | A | 17,604 | #3.94 | 39.1% | 61.3% |
| 76 | Damage Dealer |  Colt Colt | C | 76,525 | #3.93 | 39.4% | 61.2% |
| 77 | Artillery |  Dynamike Dynamike | D | 35,556 | #3.98 | 35% | 61.1% |
| 78 | Marksman |  Angelo Angelo | B | 4,061 | #3.99 | 34.4% | 60.9% |
| 79 | Assassin |  Kenji Kenji | C | 42,713 | #3.99 | 34.9% | 60.9% |
| 80 | Damage Dealer |  Rico Rico | C | 65,187 | #4 | 37.4% | 60.9% |
| 81 | Damage Dealer |  Surge Surge | C | 60,444 | #4 | 33.4% | 60.9% |
| 82 | Controller |  Emz Emz | D | 47,488 | #3.99 | 35.7% | 60.7% |
| 83 | Controller |  Amber Amber | S | 10,485 | #4.05 | 34.5% | 60.7% |
| 84 | Artillery |  Grom Grom | D | 11,445 | #4.02 | 35.5% | 60.6% |
| 85 | 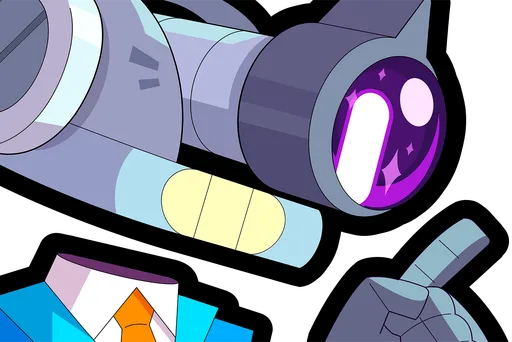 Cosmo Cosmo | S+ | 7,356 | #4.04 | 27.2% | 60.6% | |
| 86 | Damage Dealer | 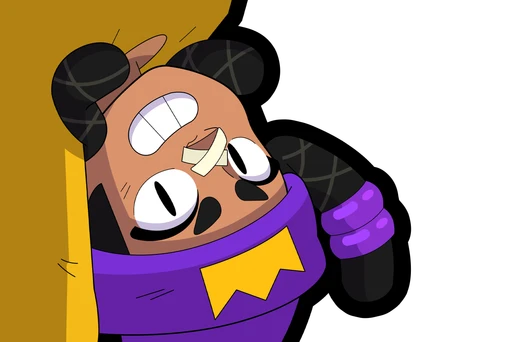 Mina Mina | A | 12,486 | #4.05 | 29.3% | 60.6% |
| 87 | Damage Dealer | 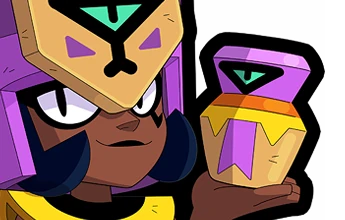 Najia Najia | B | 3,158 | #4.11 | 30.7% | 60.6% |
| 88 | Support | 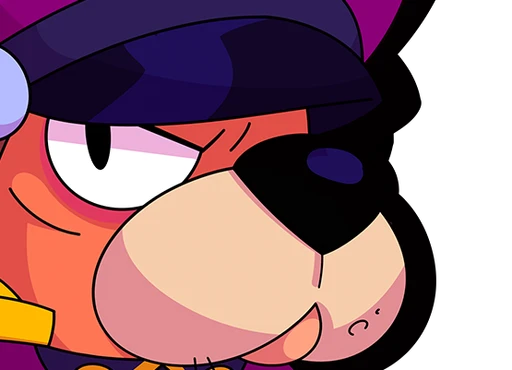 Ruffs Ruffs | B | 4,301 | #4.19 | 37.5% | 60.6% |
| 89 | Support |  Glowy Glowy | A | 5,329 | #4.12 | 33.5% | 60.5% |
| 90 | Support |  Max Max | C | 24,017 | #4.11 | 28.7% | 60.2% |
| 91 | Damage Dealer |  Colette Colette | B | 40,190 | #4.16 | 28.3% | 60.1% |
| 92 | Controller |  Sirius Sirius | A | 17,566 | #4.05 | 34.9% | 59.8% |
| 93 | Damage Dealer |  Tara Tara | C | 28,919 | #4.15 | 34.4% | 59.8% |
| 94 | Damage Dealer |  Eve Eve | D | 12,864 | #4.02 | 35.6% | 59.6% |
| 95 | Assassin |  Leon Leon | D | 50,407 | #4.07 | 32.5% | 59.4% |
| 96 | Support |  Kit Kit | C | 44,854 | #4.16 | 34.9% | 59.3% |
| 97 | Assassin |  Nori Nori | B | 56,284 | #4.15 | 32.3% | 58.7% |
| 98 | Assassin |  Stu Stu | B | 21,891 | #4.16 | 27.3% | 58.4% |
| 99 | Assassin |  Kaze Kaze | B | 14,757 | #4.35 | 27.2% | 56.2% |
| 100 | Support |  Byron Byron | C | 16,472 | #4.31 | 29.5% | 56.1% |
| 101 | Damage Dealer |  Spike Spike | B | 46,889 | #4.37 | 29% | 56% |
| 102 | Controller |  Ziggy Ziggy | B | 2,226 | #4.39 | 20.6% | 55.7% |
| 103 | Assassin |  Crow Crow | D | 40,121 | #4.41 | 28.7% | 54.7% |
| 104 | Marksman |  Piper Piper | C | 22,845 | #4.53 | 24% | 54.2% |
| 105 | Assassin |  Mortis Mortis | C | 31,406 | #4.58 | 22.7% | 53.6% |
| 106 | Artillery |  Tick Tick | D | 17,533 | #4.71 | 27.1% | 52.1% |
| 107 | Artillery |  Sprout Sprout | B | 2,168 | #5.27 | 24.1% | 45.1% |
More Solo Showdown Maps
About this map
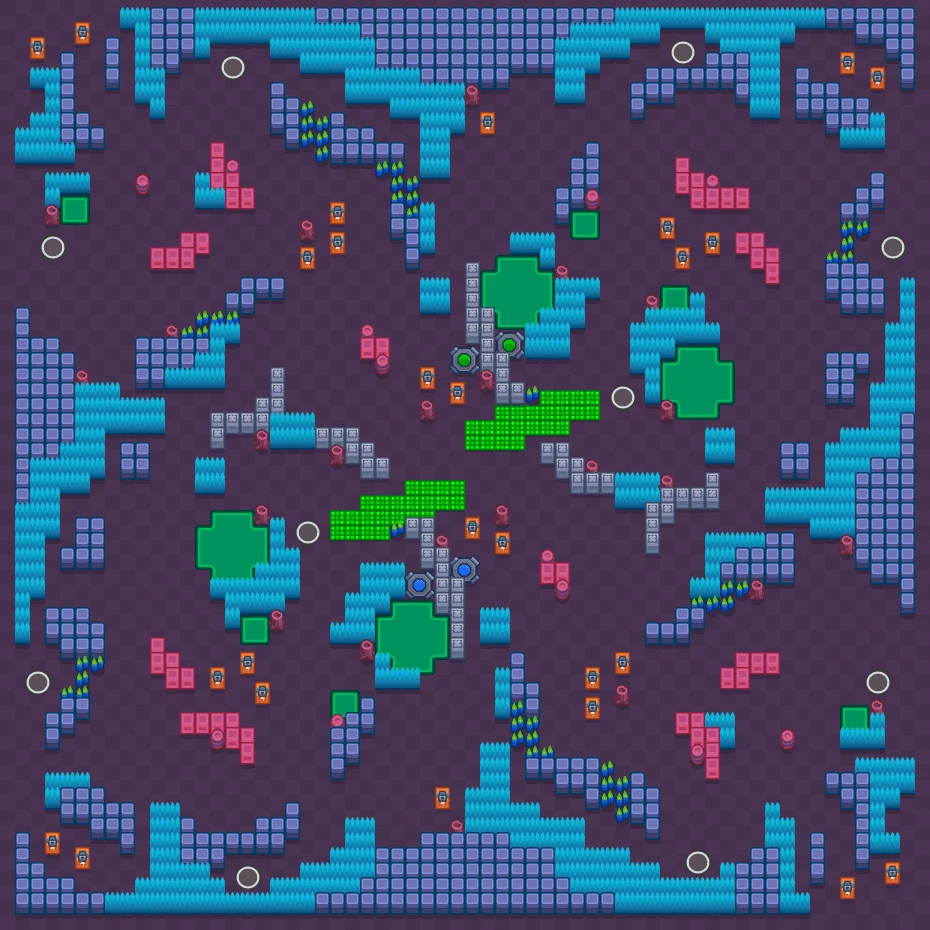
Starfruit Supernova runs in Solo Showdown. The numbers below come from 2,630,910 battles, with 10 brawlers showing up in the data. No one closes out the circle better than Rosa here (57% first-place rate), with Bonnie next at 52.8%. Solo Showdown maps are judged by bush density and how tight the closing circle gets, since a map with wide open lanes plays very differently from one packed with cover.
The most-used pick here isn't the strongest one, Rosa still edges it out. Starfruit Supernova isn't in the current rotation right now; the numbers above are from its last time live.
Starfruit Supernova FAQ
What's the strongest pick on Starfruit Supernova?
Rosa has the best placement results on Starfruit Supernova, finishing first 57% of the time. Bonnie (52.8%) and Nita (52.3%) are the next best options.
Which brawler survives longest on Starfruit Supernova?
Rosa has the best top 4 finish rate on Starfruit Supernova at 75.7%, across 22,635 recorded games. A high top 4 rate matters more than a single first-place finish since it reflects consistently surviving deep into the circle rather than one lucky run.
Is Starfruit Supernova in rotation right now?
Starfruit Supernova is a Solo Showdown map. It isn't currently in rotation; the stats above are from the last time it was live, and will keep updating the next time it comes back around. This page is built entirely from real recorded battles, never simulated or estimated numbers.