
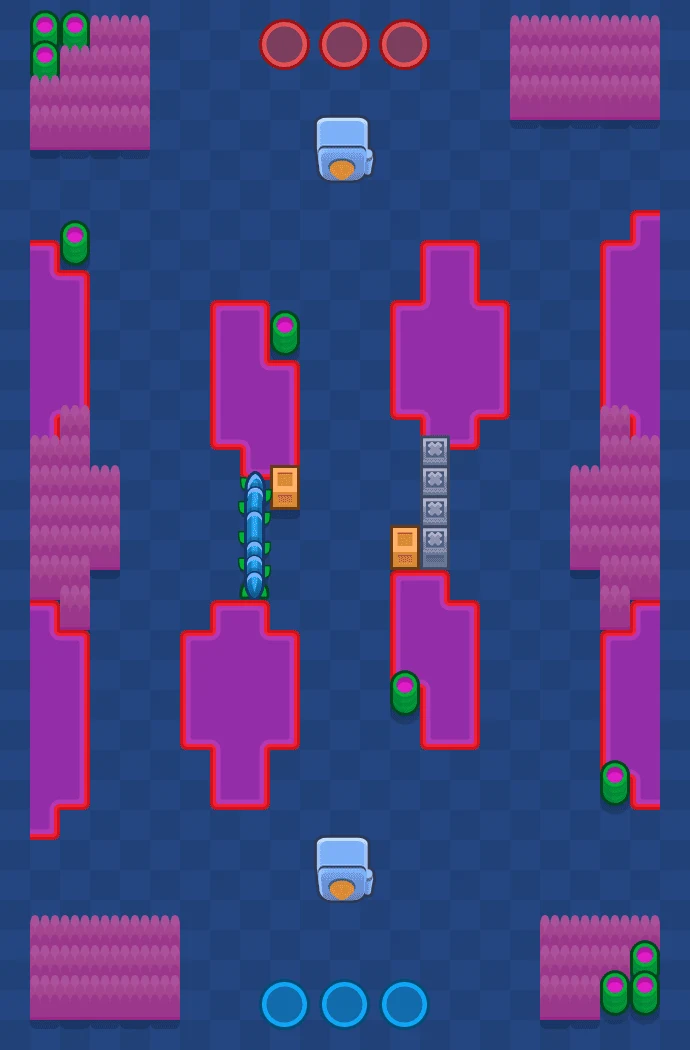
 HeistNot currently in rotation. Stats below are from its last appearance (Oct 2, 2026, 11:59 PM).
Bridge Too Far Best Brawlers
Best Brawlers for Bridge Too Far
Best Picks
High win rate and high use rate
Winners
Highest win rates on this map
Not Recommended
Low win and use rates
Full Brawler Rankings
107 brawlers with recorded picks on this map, ranked by win rate| Rank | Class | Brawler | Tier | ||
|---|---|---|---|---|---|
| 1 |  Cosmo | S+ | 69.2% | 0.5% | |
| 2 | Marksman |  Janet | B | 67.9% | 0.2% |
| 3 | Tank |  Trunk | A | 67.7% | 0.4% |
| 4 | Artillery |  Juju | A | 67.1% | 0.3% |
| 5 | Assassin |  Nori | A | 66.7% | 2.3% |
| 6 | Damage Dealer | 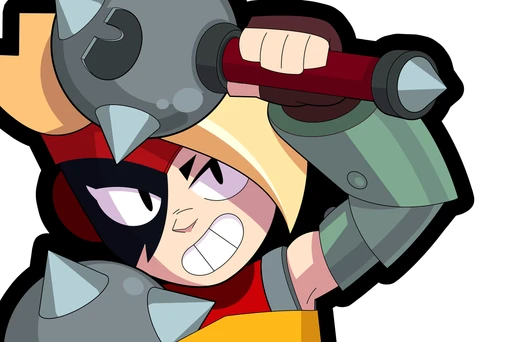 Lumi | A | 66.4% | 0.4% |
| 7 | Tank | 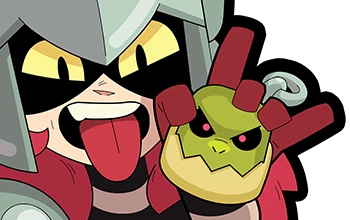 Draco | A | 65.1% | 0.3% |
| 8 | Controller |  Sirius | A | 64.2% | 0.7% |
| 9 | Assassin |  Shade | S | 64.1% | 2.1% |
| 10 | Support | 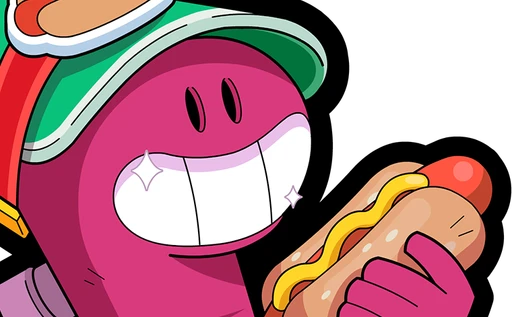 Doug | A | 63.8% | 0.3% |
| 11 | Damage Dealer |  Lola | B | 63.7% | 0.5% |
| 12 | Assassin |  Starr Nova | S | 63.4% | 0.5% |
| 13 | Controller |  Amber | S | 63.3% | 1.2% |
| 14 | Tank |  Bolt | A | 63.3% | 0.5% |
| 15 | Damage Dealer | 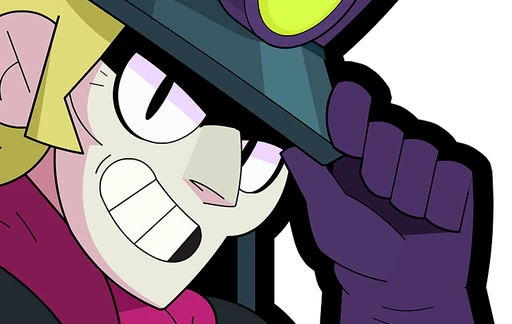 Chuck | B | 63.1% | 1.7% |
| 16 | Assassin |  Kaze | B | 62.4% | 0.8% |
| 17 | Assassin |  Sam | B | 61.9% | 0.2% |
| 18 | Damage Dealer |  Mina | A | 61.9% | 0.2% |
| 19 | Controller |  Willow | B | 61.7% | 0.2% |
| 20 | Assassin |  Gigi | A | 61.5% | 0.4% |
| 21 | Controller |  Bo | A | 61.1% | 0.8% |
| 22 | Support |  Ruffs | B | 60.8% | 0.1% |
| 23 | Support |  Wendy | S+ | 60.8% | 0.3% |
| 24 | Support |  Gus | S | 60.7% | 1.4% |
| 25 | Controller |  Ziggy | B | 60.3% | 0.1% |
| 26 | Marksman |  Pierce | A | 60% | 0.6% |
| 27 | Controller |  Finx | A | 59.9% | 0.2% |
| 28 | Damage Dealer |  Najia | B | 59.7% | 0.2% |
| 29 | Artillery |  Sprout | B | 59.5% | 0.1% |
| 30 | Tank |  Hank | B | 59.3% | 0.2% |
| 31 | Support |  Kit | B | 59.3% | 0.6% |
| 32 | Marksman |  Nani | B | 58.8% | 0.6% |
| 33 | Assassin |  Stu | B | 58.7% | 0.3% |
| 34 | Support |  Gray | B | 58.4% | 0.1% |
| 35 | Assassin |  Mico | C | 58.3% | 0.8% |
| 36 | Damage Dealer |  Chester | A | 57.9% | 0.4% |
| 37 | Marksman |  Mandy | B | 57.9% | 2.3% |
| 38 | Tank |  Damian | S | 57.7% | 0.2% |
| 39 | Assassin |  Alli | B | 57.6% | 0.3% |
| 40 | Support |  Glowy | B | 57.3% | 0.3% |
| 41 | Assassin |  Edgar | B | 56% | 5.9% |
| 42 | Damage Dealer |  R-T | A | 56% | 0.2% |
| 43 | Controller |  Meeple | B | 55.8% | 0.2% |
| 44 | Damage Dealer |  8-Bit | D | 55.7% | 4.4% |
| 45 | Damage Dealer |  Colette | B | 54.4% | 3.2% |
| 46 | Support |  Jae-Yong | B | 54.1% | 0.1% |
| 47 | Damage Dealer |  Moe | A | 53.3% | 0.1% |
| 48 | Controller |  Griff | B | 53% | 2.3% |
| 49 | Controller |  Jessie | D | 52% | 3.8% |
| 50 | Assassin |  Mortis | B | 51.8% | 0.5% |
| 51 | Tank |  Bibi | C | 51.4% | 1.1% |
| 52 | Damage Dealer |  Colt | C | 51% | 5.3% |
| 53 | Assassin |  Melodie | C | 51% | 1.4% |
| 54 | Assassin |  Kenji | C | 49.5% | 0.8% |
| 55 | Damage Dealer |  Pearl | B | 49.2% | 0.5% |
| 56 | Damage Dealer |  Spike | C | 49% | 1.4% |
| 57 | Marksman |  Angelo | C | 48.5% | 0.3% |
| 58 | Damage Dealer |  Nita | D | 48.4% | 2.2% |
| 59 | Damage Dealer |  Rico | C | 48.1% | 3.2% |
| 60 | Tank |  Darryl | D | 48.1% | 1% |
| 61 | Tank |  El Primo | C | 48% | 1.8% |
| 62 | Controller |  Emz | C | 47.5% | 1.7% |
| 63 | Marksman |  Brock | C | 47.2% | 3.9% |
| 64 | Marksman |  Maisie | B | 46.3% | 0.6% |
| 65 | Tank |  Frank | C | 45.2% | 1.6% |
| 66 | Artillery |  Penny | D | 44.7% | 1.3% |
| 67 | Damage Dealer |  Carl | C | 44.7% | 0.9% |
| 68 | Marksman |  Piper | C | 44.6% | 1.3% |
| 69 | Assassin |  Lily | D | 44.5% | 0.5% |
| 70 | Support |  Pam | C | 43.9% | 0.4% |
| 71 | Artillery |  Larry & Lawrie | C | 43.6% | 0.6% |
| 72 | Controller |  Squeak | C | 43.4% | 0.8% |
| 73 | Assassin |  Buzz | B | 43.2% | 0.7% |
| 74 | Tank |  Bull | B | 42.3% | 1.7% |
| 75 | Support |  Poco | C | 41.4% | 0.9% |
| 76 | Damage Dealer |  Eve | D | 41.4% | 0.5% |
| 77 | Damage Dealer |  Surge | C | 40.2% | 0.7% |
| 78 | Tank |  Rosa | C | 40% | 0.6% |
| 79 | Controller |  Gale | C | 40% | 0.5% |
| 80 | Damage Dealer |  Shelly | D | 39.6% | 1.5% |
| 81 | Support |  Berry | D | 39.3% | 0.9% |
| 82 | Assassin |  Crow | D | 39% | 1.3% |
| 83 | Tank |  Meg | D | 38.9% | 0.8% |
| 84 | Assassin |  Leon | D | 38.5% | 0.9% |
| 85 | Artillery |  Barley | D | 38.3% | 1% |
| 86 | Assassin |  Fang | C | 38.3% | 0.7% |
| 87 | Tank |  Ash | B | 36.7% | 0.4% |
| 88 | Artillery |  Dynamike | D | 36.2% | 1.4% |
| 89 | Tank |  Jacky | D | 35.8% | 0.5% |
| 90 | Support |  Max | C | 35.6% | 0.5% |
| 91 | Damage Dealer |  Tara | D | 35.2% | 0.4% |
| 92 | Marksman |  Belle | C | 33.5% | 0.6% |
| 93 | Support |  Byron | D | 33% | 0.6% |
| 94 | Controller |  Otis | C | 31.2% | 0.5% |
| 95 | Tank |  Buster | C | 31.2% | 0.3% |
| 96 | Controller |  Charlie | C | 30.8% | 0.4% |
| 97 | Marksman |  Bea | C | 30% | 0.4% |
| 98 | Damage Dealer |  Clancy | C | 29.9% | 0.5% |
| 99 | Assassin |  Cordelius | C | 29.8% | 0.6% |
| 100 | Controller |  Lou | C | 29.7% | 0.4% |
| 101 | Marksman |  Bonnie | D | 29.5% | 0.4% |
| 102 | Tank |  Ollie | C | 29.5% | 0.2% |
| 103 | Artillery |  Grom | D | 29% | 0.4% |
| 104 | Artillery |  Tick | D | 28.1% | 0.8% |
| 105 | Controller |  Mr. P | D | 27.8% | 0.4% |
| 106 | Controller |  Sandy | C | 26.9% | 0.4% |
| 107 | Controller |  Gene | D | 21.8% | 0.2% |
More Heist Maps



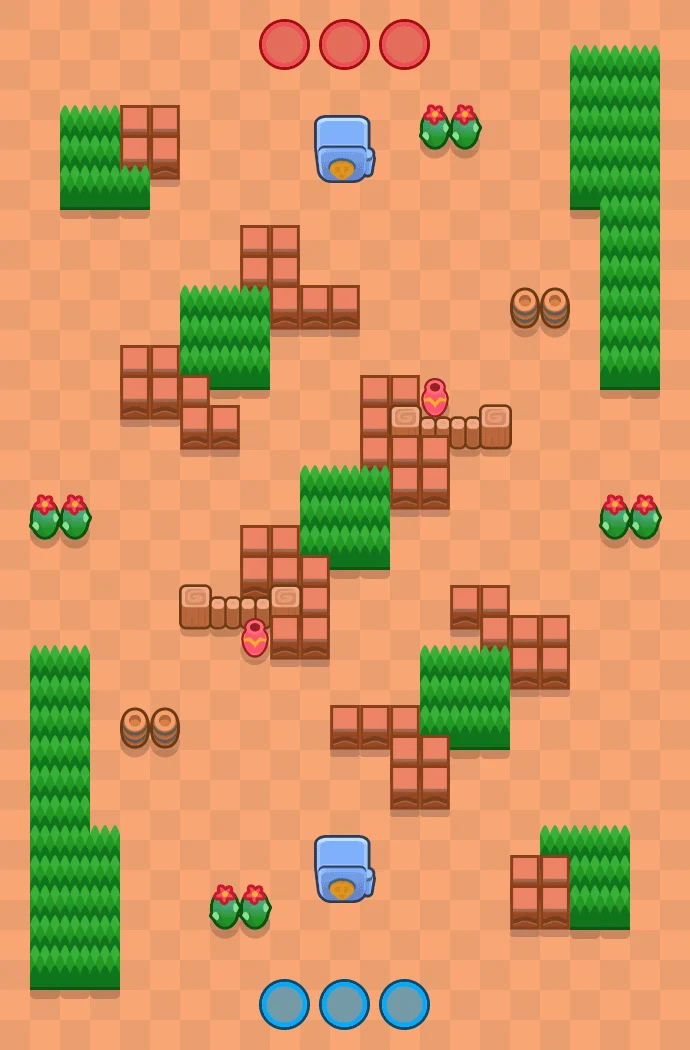
About this map
This breakdown of Bridge Too Far draws on 194,298 Heist battles, tracking 107 brawlers with real recorded picks. No brawler wins more often here than Cosmo (69.2%), followed by Janet at 67.9%. By pure popularity, Edgar leads at 5.9% use rate, converting at 56%. Heist maps come down to the sightlines around the safe: open lanes favor long-range chip damage, while walled-off safes favor brawlers that can force their way in.
Cosmo stands out here, winning 20 percentage points more than the average brawler tracked on this map. The most-used pick here isn't the strongest one, Cosmo still edges it out. Gene is one to avoid, sitting at just 21.8% on this map. That said, Bridge Too Far has since rotated out, so this reflects its most recent stretch in rotation rather than live play.
Bridge Too Far FAQ
Who is the best brawler on Bridge Too Far?
Cosmo has the highest win rate on Bridge Too Far at 69.2%. Janet (67.9%) and Trunk (67.7%) are the next strongest picks.
Which brawler is picked most on Bridge Too Far?
Edgar is the most-used brawler on Bridge Too Far, appearing in 5.9% of tracked games with a 56% win rate. Popularity and win rate don't always line up, so it's worth checking the full rankings table before assuming the most common pick is the best one.
What are the worst picks on Bridge Too Far?
Gene, Sandy and Mr. P have the weakest combination of win rate and use rate on Bridge Too Far, with Gene sitting at 21.8%. These aren't unplayable, but they're fighting the map's layout rather than working with it.
When is Bridge Too Far next available?
Bridge Too Far is a Heist map. It isn't currently in rotation; the stats above are from the last time it was live, and will keep updating the next time it comes back around. This page is built entirely from real recorded battles, never simulated or estimated numbers.