
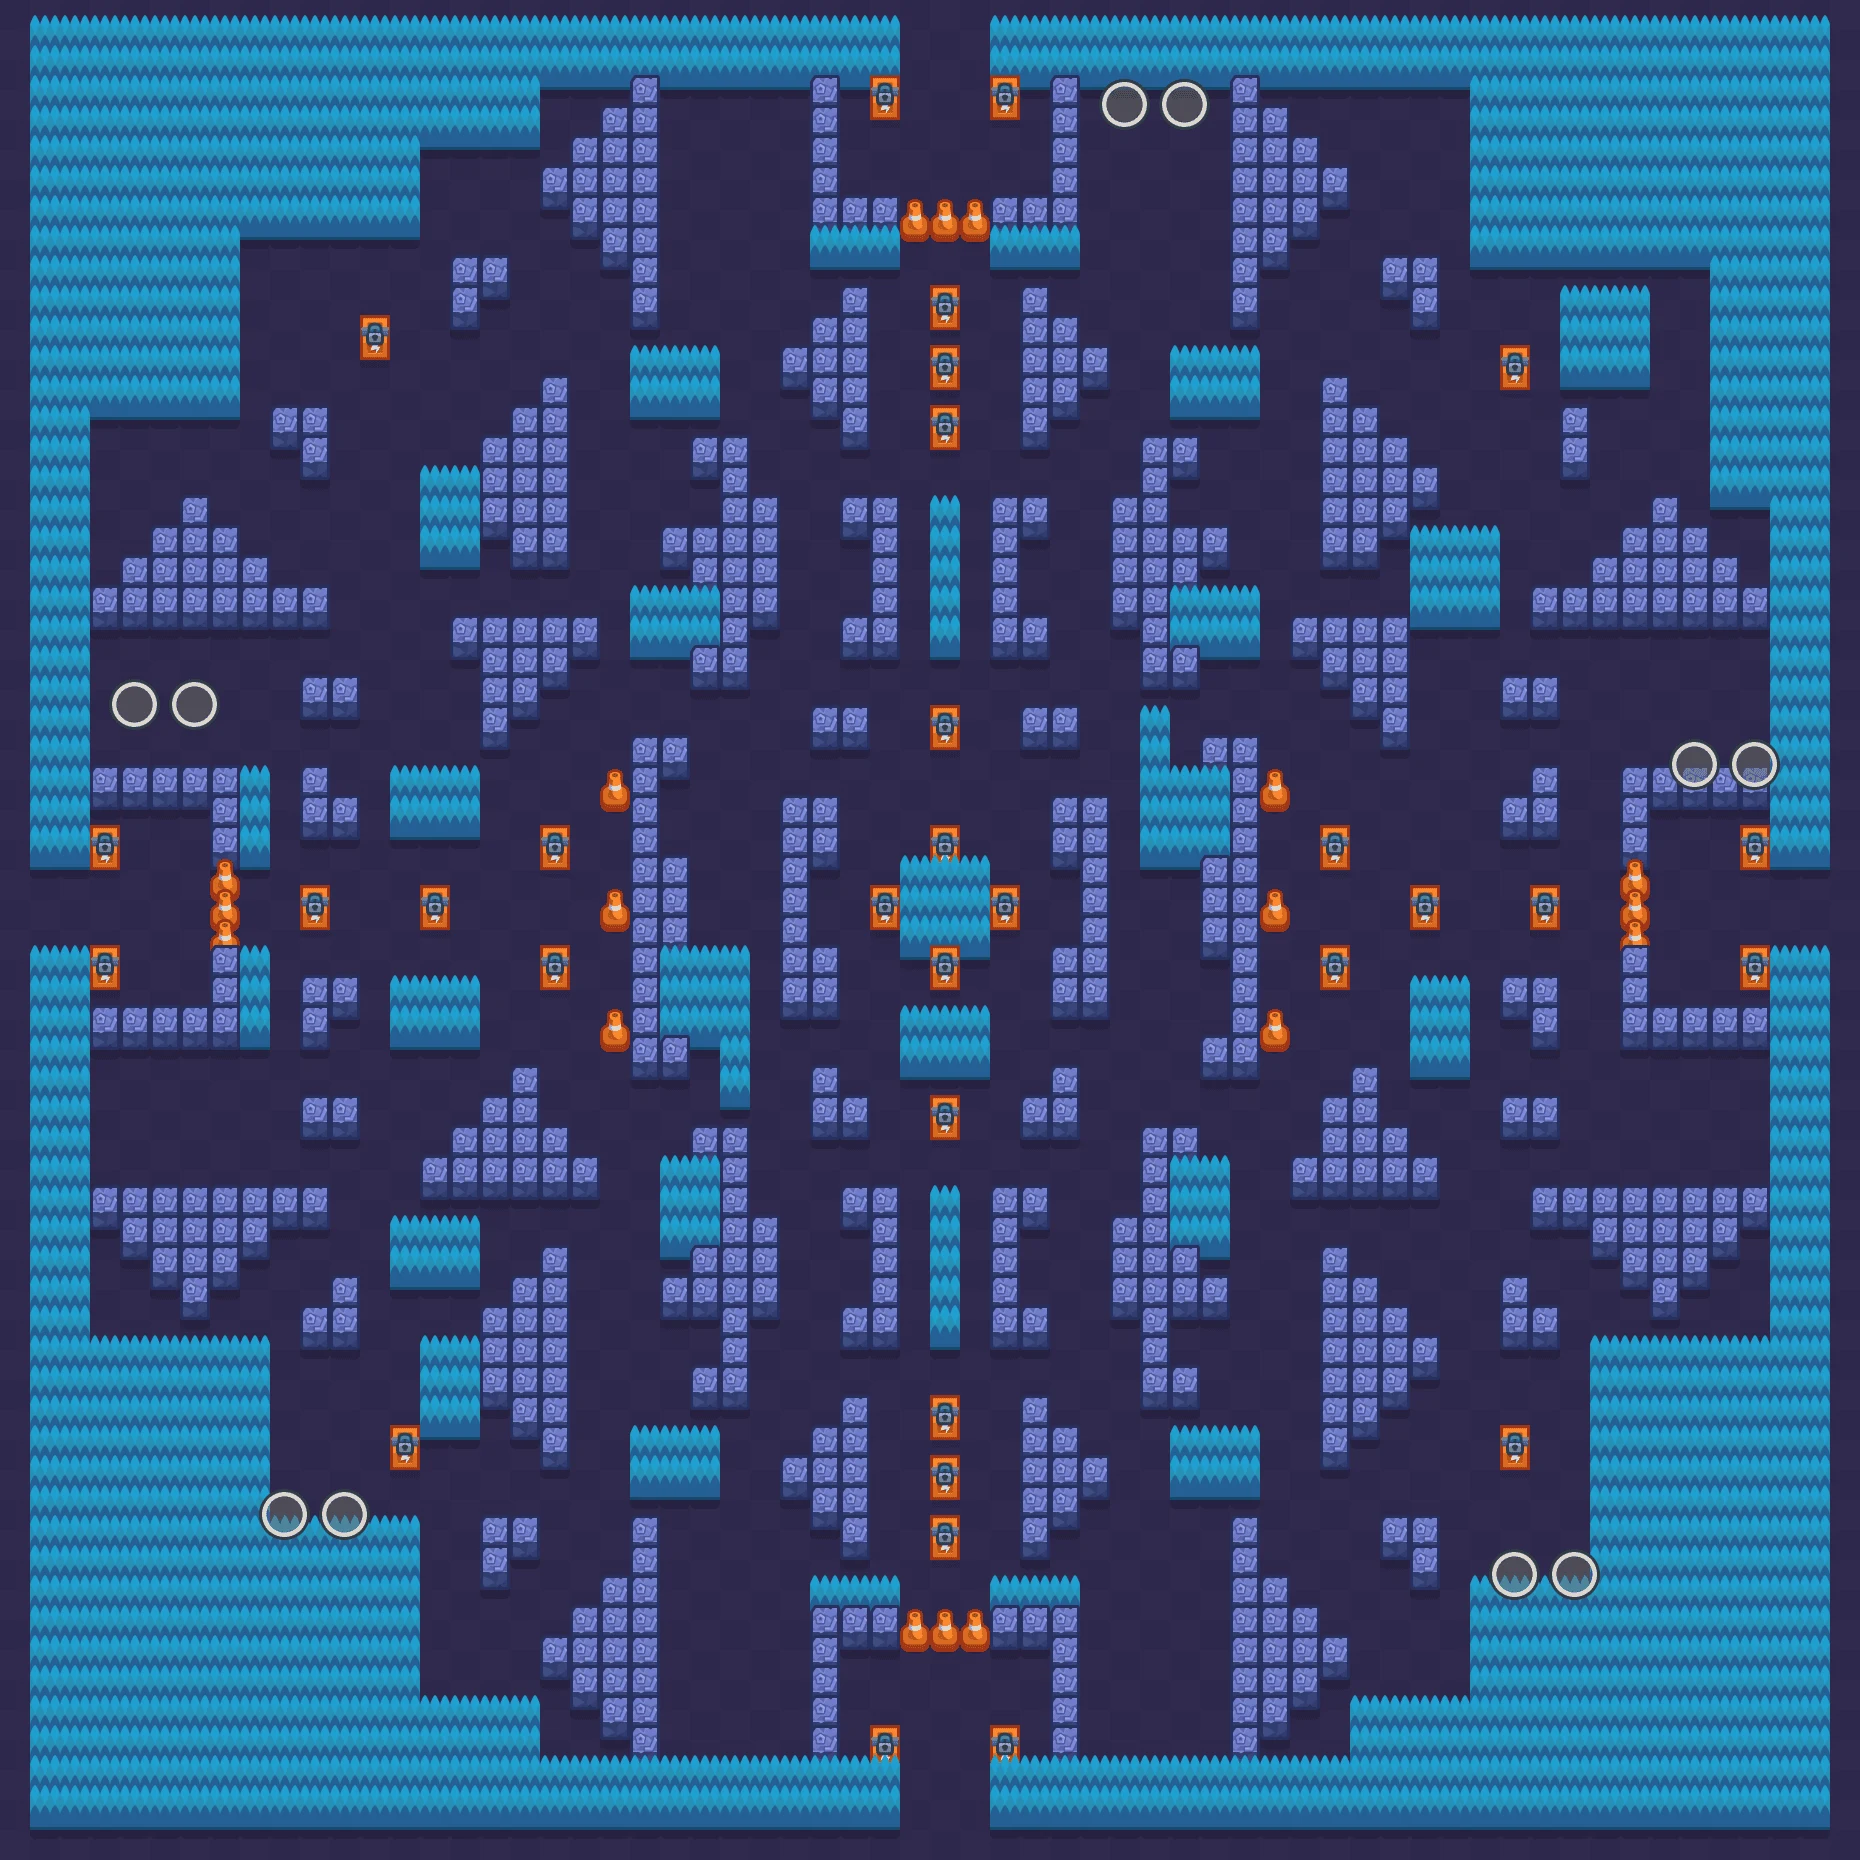
 Trio ShowdownNot currently in rotation. Stats below are from its last appearance (Oct 20, 2026, 11:09 PM).
Rockwall Brawl Best Brawlers
Best Brawlers for Rockwall Brawl
Best Picks
High top 4 rate and high use rate
Winners
Highest top 4 rates on this map
Most Used
Most popular by use rate
Not Recommended
Low top 4 and use rates
Showdown Placement Rankings
107 brawlers with recorded games on this map, ranked by placement
| Rank | Class | Brawler | Tier | ||||
|---|---|---|---|---|---|---|---|
| 1 | Controller |  Charlie | C | 4,892 | #1.87 | 53.9% | 72.2% |
| 2 | Tank |  Draco | A | 2,898 | #1.9 | 52.7% | 72% |
| 3 | Support |  Wendy | S+ | 4,859 | #1.91 | 50.4% | 71.9% |
| 4 | Assassin |  Lily | D | 7,439 | #1.96 | 47.4% | 70.9% |
| 5 | Marksman |  Bonnie | D | 4,104 | #1.89 | 54.2% | 70.8% |
| 6 | Artillery |  Larry & Lawrie | C | 7,170 | #1.94 | 51.5% | 69.5% |
| 7 | Assassin |  Mico | C | 4,341 | #2.03 | 42.9% | 69.1% |
| 8 | Support |  Gray | B | 2,894 | #1.98 | 49.1% | 69% |
| 9 | Tank |  Bibi | C | 12,320 | #1.99 | 48.3% | 69% |
| 10 | Damage Dealer |  Najia | B | 1,945 | #1.98 | 47.5% | 68.9% |
| 11 | Assassin |  Alli | C | 3,784 | #1.99 | 47.8% | 68.9% |
| 12 | Damage Dealer |  Shelly | D | 24,292 | #1.96 | 50.8% | 68.7% |
| 13 | Damage Dealer |  Pearl | B | 6,214 | #1.95 | 51.3% | 68.5% |
| 14 | Support |  Ruffs | B | 2,300 | #2 | 46.4% | 68.4% |
| 15 | Tank |  Ollie | C | 3,215 | #2 | 49.2% | 68.4% |
| 16 | Tank |  Ash | B | 4,862 | #1.97 | 50.3% | 68.3% |
| 17 | Assassin |  Starr Nova | S | 6,739 | #2.01 | 47.7% | 68.3% |
| 18 | Support |  Berry | D | 6,780 | #2.01 | 48.3% | 68% |
| 19 | Tank |  Trunk | S | 4,259 | #2.03 | 45.5% | 68% |
| 20 | Controller |  Ziggy | B | 3,497 | #2.03 | 45% | 68% |
| 21 | Assassin |  Cordelius | C | 8,153 | #2.04 | 44.6% | 67.9% |
| 22 | Assassin |  Edgar | B | 48,603 | #1.99 | 48.8% | 67.8% |
| 23 | Support |  Doug | A | 4,507 | #2.02 | 46.7% | 67.8% |
| 24 | Assassin |  Shade | S | 18,178 | #2.02 | 45.8% | 67.7% |
| 25 | Tank |  Rosa | C | 7,273 | #1.99 | 50.5% | 67.4% |
| 26 | Controller |  Lou | C | 4,904 | #2.02 | 47.6% | 67.4% |
| 27 | Tank |  El Primo | C | 15,795 | #2 | 48.4% | 67.3% |
| 28 | Tank |  Frank | C | 12,875 | #2 | 48.7% | 67.3% |
| 29 | Controller |  Willow | B | 4,013 | #2.01 | 46.7% | 67.3% |
| 30 | Damage Dealer |  Nita | D | 13,888 | #1.99 | 49.6% | 67.1% |
| 31 |  Cosmo | S+ | 4,898 | #2.03 | 45.8% | 67.1% | |
| 32 | Tank |  Darryl | D | 8,959 | #2.04 | 45.8% | 67.1% |
| 33 | Assassin |  Melodie | C | 5,729 | #2.04 | 45.3% | 67% |
| 34 | Assassin |  Gigi | A | 3,558 | #2.04 | 46.2% | 67% |
| 35 | Support |  Glowy | A | 2,725 | #2.02 | 47.2% | 66.9% |
| 36 | Damage Dealer |  Mina | A | 3,260 | #2.03 | 47.1% | 66.9% |
| 37 | Tank |  Hank | B | 2,726 | #2.03 | 46.8% | 66.8% |
| 38 | Assassin |  Kenji | C | 13,277 | #2.02 | 47.9% | 66.7% |
| 39 | Controller |  Finx | B | 2,566 | #2.04 | 46.3% | 66.7% |
| 40 | Marksman |  Belle | B | 5,897 | #2.01 | 48.6% | 66.6% |
| 41 | Marksman |  Maisie | B | 6,543 | #2.03 | 47.5% | 66.6% |
| 42 | Tank |  Meg | D | 9,038 | #2 | 49.7% | 66.4% |
| 43 | Controller |  Meeple | A | 3,369 | #2.06 | 45.9% | 66.4% |
| 44 | Support |  Pam | C | 5,415 | #2.02 | 50.6% | 66.3% |
| 45 | Damage Dealer |  Carl | C | 8,504 | #2.02 | 47.4% | 66.3% |
| 46 | Marksman |  Janet | B | 3,088 | #2.05 | 46.9% | 66.3% |
| 47 | Damage Dealer |  Moe | A | 1,753 | #2.09 | 44.2% | 66.2% |
| 48 | Controller |  Gene | D | 3,898 | #2.03 | 47.6% | 66.1% |
| 49 | Damage Dealer |  Colt | C | 22,759 | #2.03 | 47.6% | 66% |
| 50 | Damage Dealer |  Clancy | C | 3,676 | #2.03 | 48.1% | 66% |
| 51 | Tank |  Bolt | A | 2,105 | #2.05 | 46.3% | 66% |
| 52 | Support |  Poco | C | 11,350 | #2.02 | 49.6% | 65.9% |
| 53 | Marksman |  Mandy | A | 9,884 | #2.03 | 46.8% | 65.9% |
| 54 | Assassin |  Buzz | C | 8,169 | #2.06 | 46% | 65.9% |
| 55 | Damage Dealer |  Eve | D | 3,696 | #2.08 | 43.6% | 65.9% |
| 56 | Controller |  Sirius | A | 7,900 | #2.04 | 46.4% | 65.8% |
| 57 | Controller |  Sandy | C | 5,485 | #2.05 | 46.5% | 65.8% |
| 58 | Controller |  Amber | S | 4,838 | #2.05 | 46.3% | 65.8% |
| 59 | Artillery |  Barley | D | 10,841 | #2.04 | 47.4% | 65.7% |
| 60 | Tank |  Bull | B | 11,361 | #2.03 | 48.8% | 65.6% |
| 61 | Controller |  Otis | C | 5,379 | #2.02 | 48.3% | 65.5% |
| 62 | Assassin |  Fang | C | 7,827 | #2.05 | 46.9% | 65.5% |
| 63 | Marksman |  Brock | C | 22,677 | #2.05 | 46.9% | 65.4% |
| 64 | Damage Dealer |  8-Bit | D | 15,438 | #2.05 | 47% | 65.4% |
| 65 | Controller |  Bo | B | 7,317 | #2.04 | 48.4% | 65.3% |
| 66 | Assassin |  Stu | B | 4,481 | #2.07 | 43.2% | 65.3% |
| 67 | Marksman |  Pierce | A | 4,688 | #2.06 | 46% | 65.2% |
| 68 | Marksman |  Piper | C | 9,698 | #2.08 | 43.3% | 65.2% |
| 69 | Assassin |  Crow | D | 12,738 | #2.09 | 43.9% | 65.1% |
| 70 | Damage Dealer |  Chester | B | 5,590 | #2.09 | 43.5% | 65.1% |
| 71 | Tank |  Damian | A | 3,016 | #2.09 | 44.9% | 65.1% |
| 72 | Damage Dealer |  Spike | C | 14,392 | #2.08 | 44.1% | 65% |
| 73 | Controller |  Gale | C | 6,431 | #2.08 | 44.6% | 65% |
| 74 | Damage Dealer |  Surge | C | 15,903 | #2.07 | 45.4% | 64.9% |
| 75 | Artillery |  Grom | D | 6,323 | #2.07 | 43.4% | 64.9% |
| 76 | Damage Dealer |  Rico | C | 21,671 | #2.07 | 45.5% | 64.8% |
| 77 | Damage Dealer |  R-T | A | 1,619 | #2.08 | 45.5% | 64.8% |
| 78 | Artillery |  Sprout | B | 4,365 | #2.1 | 41.4% | 64.8% |
| 79 | Artillery |  Penny | D | 7,902 | #2.07 | 46.1% | 64.7% |
| 80 | Controller |  Griff | B | 13,354 | #2.07 | 46.1% | 64.7% |
| 81 | Support |  Gus | S | 11,723 | #2.06 | 46.6% | 64.6% |
| 82 | Marksman |  Nani | B | 3,666 | #2.06 | 47.3% | 64.5% |
| 83 | Damage Dealer |  Tara | C | 8,023 | #2.11 | 42.3% | 64.5% |
| 84 | Marksman |  Bea | C | 6,640 | #2.09 | 44.3% | 64.4% |
| 85 | Support |  Kit | B | 11,999 | #2.09 | 43.5% | 64.4% |
| 86 | Controller |  Squeak | C | 8,943 | #2.1 | 43.8% | 64.3% |
| 87 | Marksman |  Angelo | B | 2,315 | #2.08 | 46.2% | 64.2% |
| 88 | Damage Dealer |  Lola | B | 4,601 | #2.11 | 45.6% | 64.1% |
| 89 | Assassin |  Mortis | B | 7,240 | #2.12 | 40.6% | 64.1% |
| 90 | Controller |  Jessie | D | 9,650 | #2.11 | 44.5% | 64% |
| 91 | Tank |  Buster | C | 3,902 | #2.11 | 43.7% | 63.9% |
| 92 | Assassin |  Nori | S | 14,820 | #2.11 | 42.3% | 63.9% |
| 93 | Assassin |  Kaze | B | 4,433 | #2.16 | 38.7% | 63.9% |
| 94 | Assassin |  Sam | B | 2,136 | #2.08 | 45.7% | 63.8% |
| 95 | Damage Dealer |  Colette | B | 11,823 | #2.13 | 41% | 63.7% |
| 96 | Artillery |  Juju | A | 2,719 | #2.1 | 44.8% | 63.4% |
| 97 | Controller |  Mr. P | D | 4,881 | #2.11 | 44.3% | 63.4% |
| 98 | Support |  Byron | D | 5,728 | #2.1 | 44.7% | 63.3% |
| 99 | Controller |  Emz | D | 16,747 | #2.11 | 43.7% | 63.3% |
| 100 | Artillery |  Tick | D | 14,456 | #2.12 | 42.3% | 63.2% |
| 101 | Tank |  Jacky | D | 6,834 | #2.12 | 42.4% | 63.2% |
| 102 | Support |  Max | C | 8,267 | #2.13 | 41.8% | 62.9% |
| 103 | Assassin |  Leon | D | 13,561 | #2.13 | 41.6% | 62.8% |
| 104 | Artillery |  Dynamike | D | 18,973 | #2.14 | 41.4% | 62.6% |
| 105 | Damage Dealer |  Lumi | A | 3,228 | #2.15 | 42.6% | 62.2% |
| 106 | Damage Dealer |  Chuck | B | 1,616 | #2.21 | 39.6% | 60.9% |
| 107 | Support |  Jae-Yong | B | 2,219 | #2.19 | 39.6% | 60.5% |
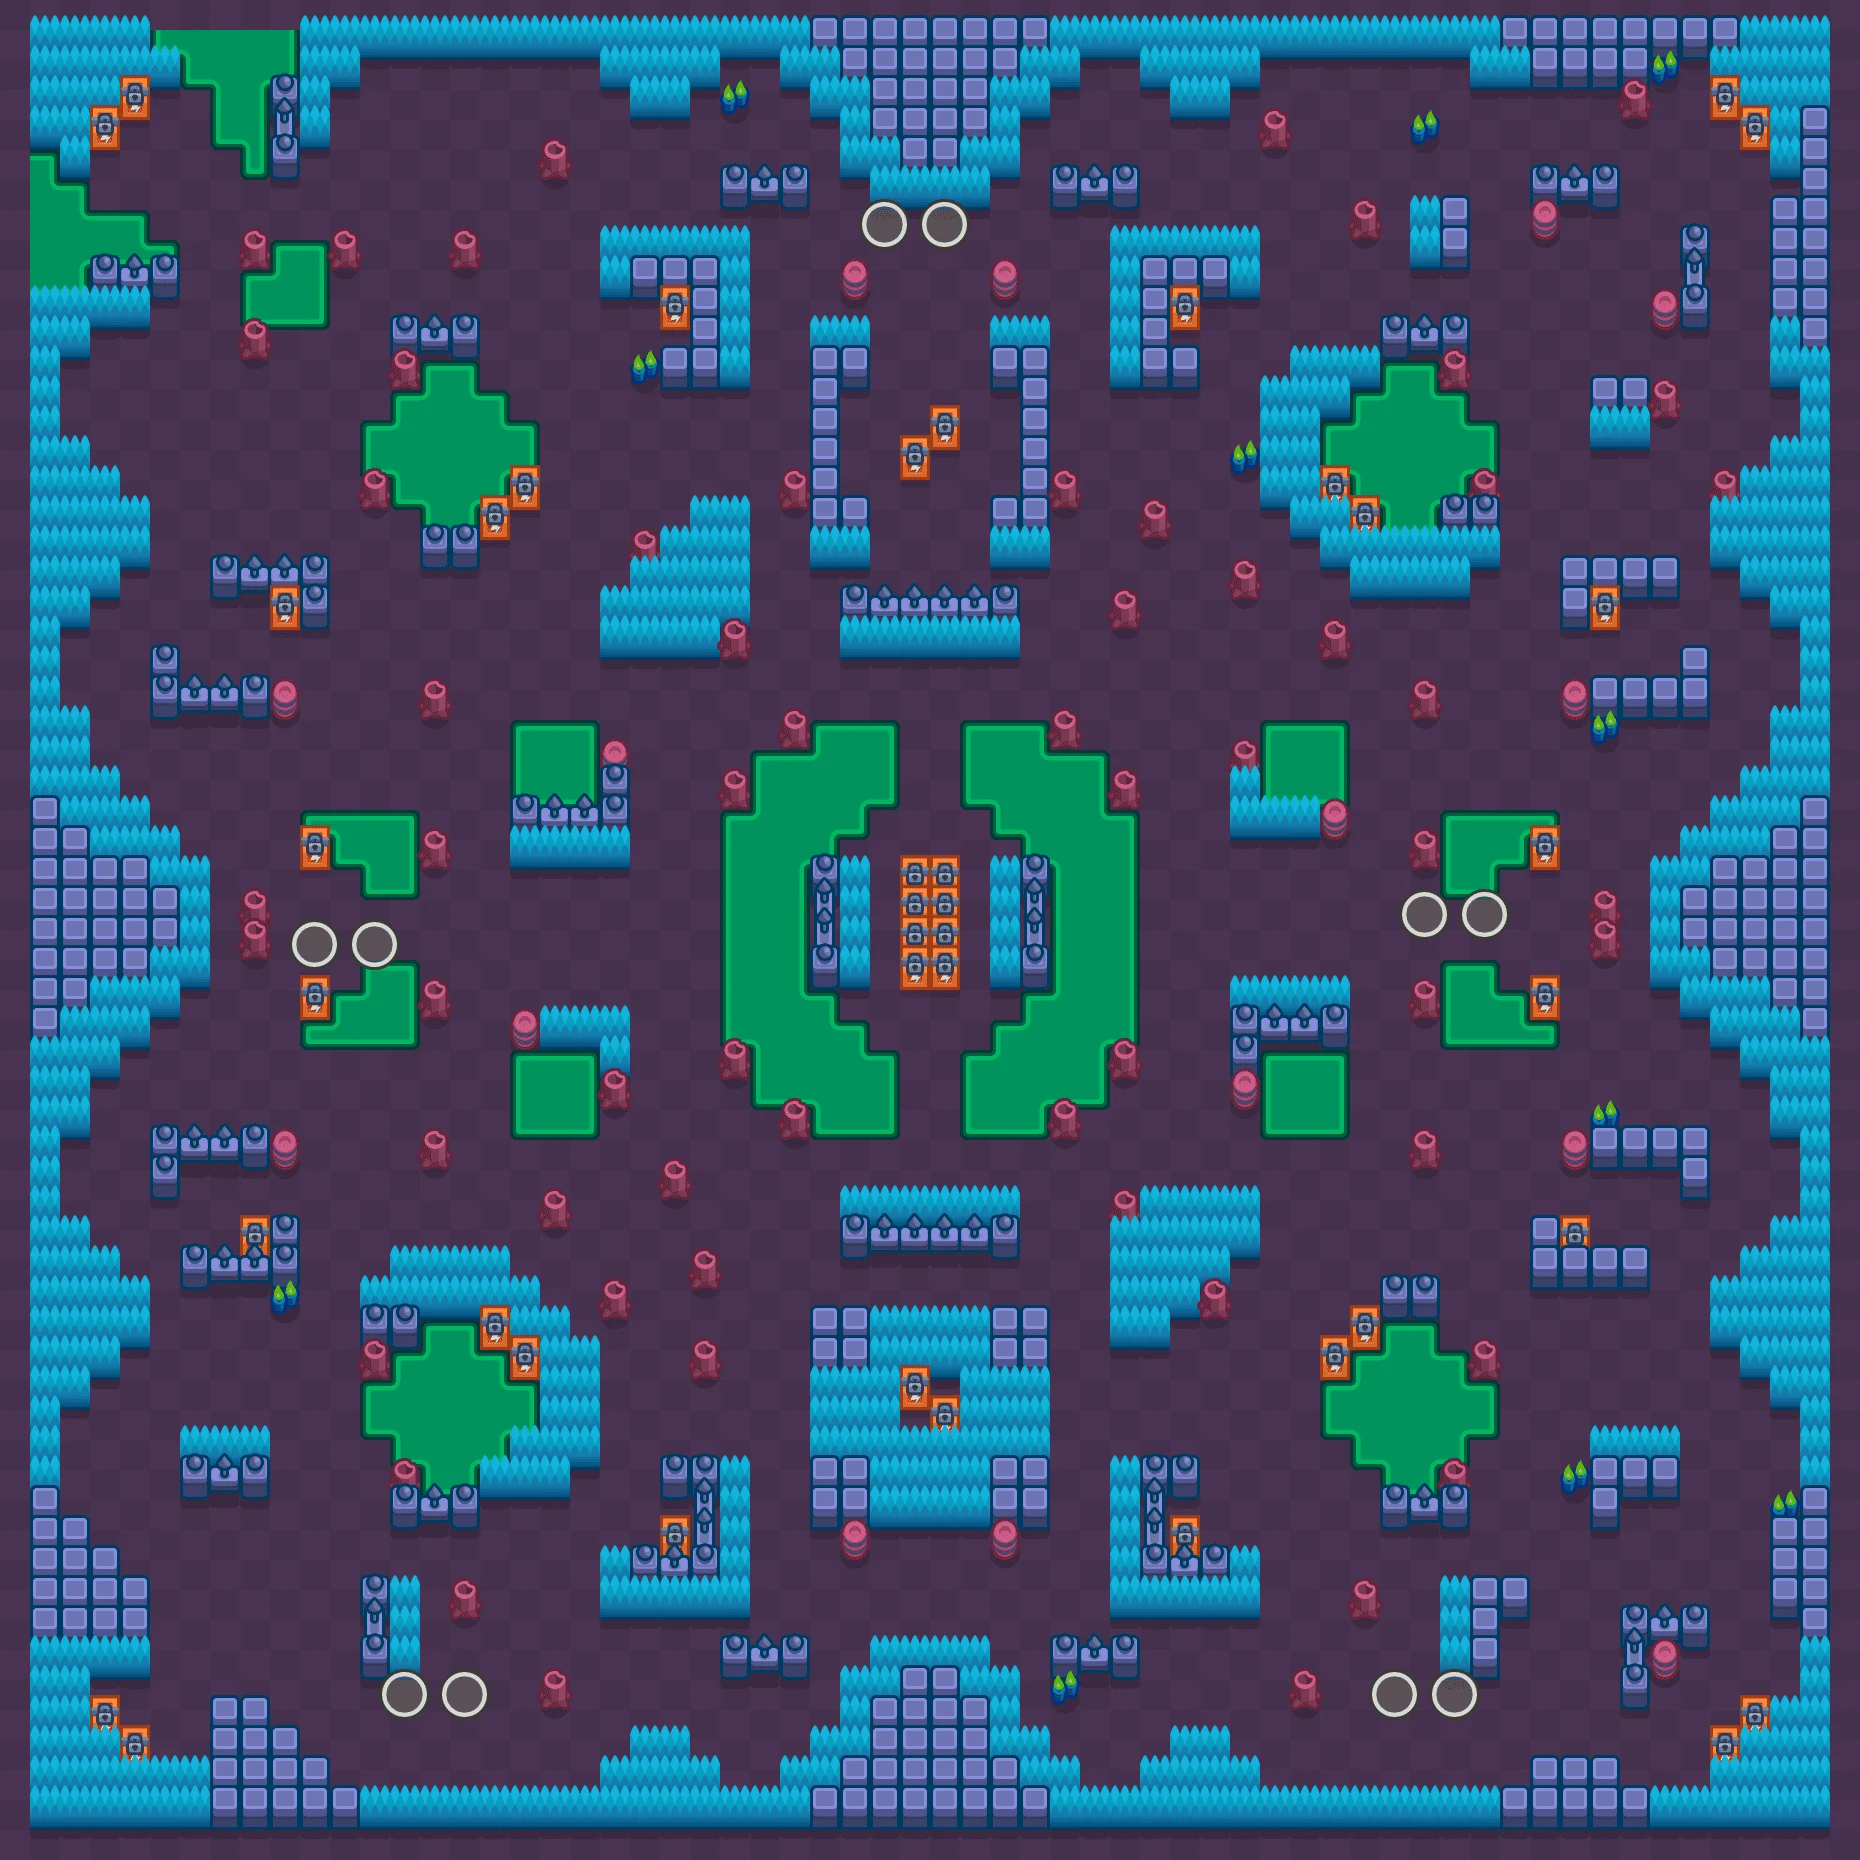
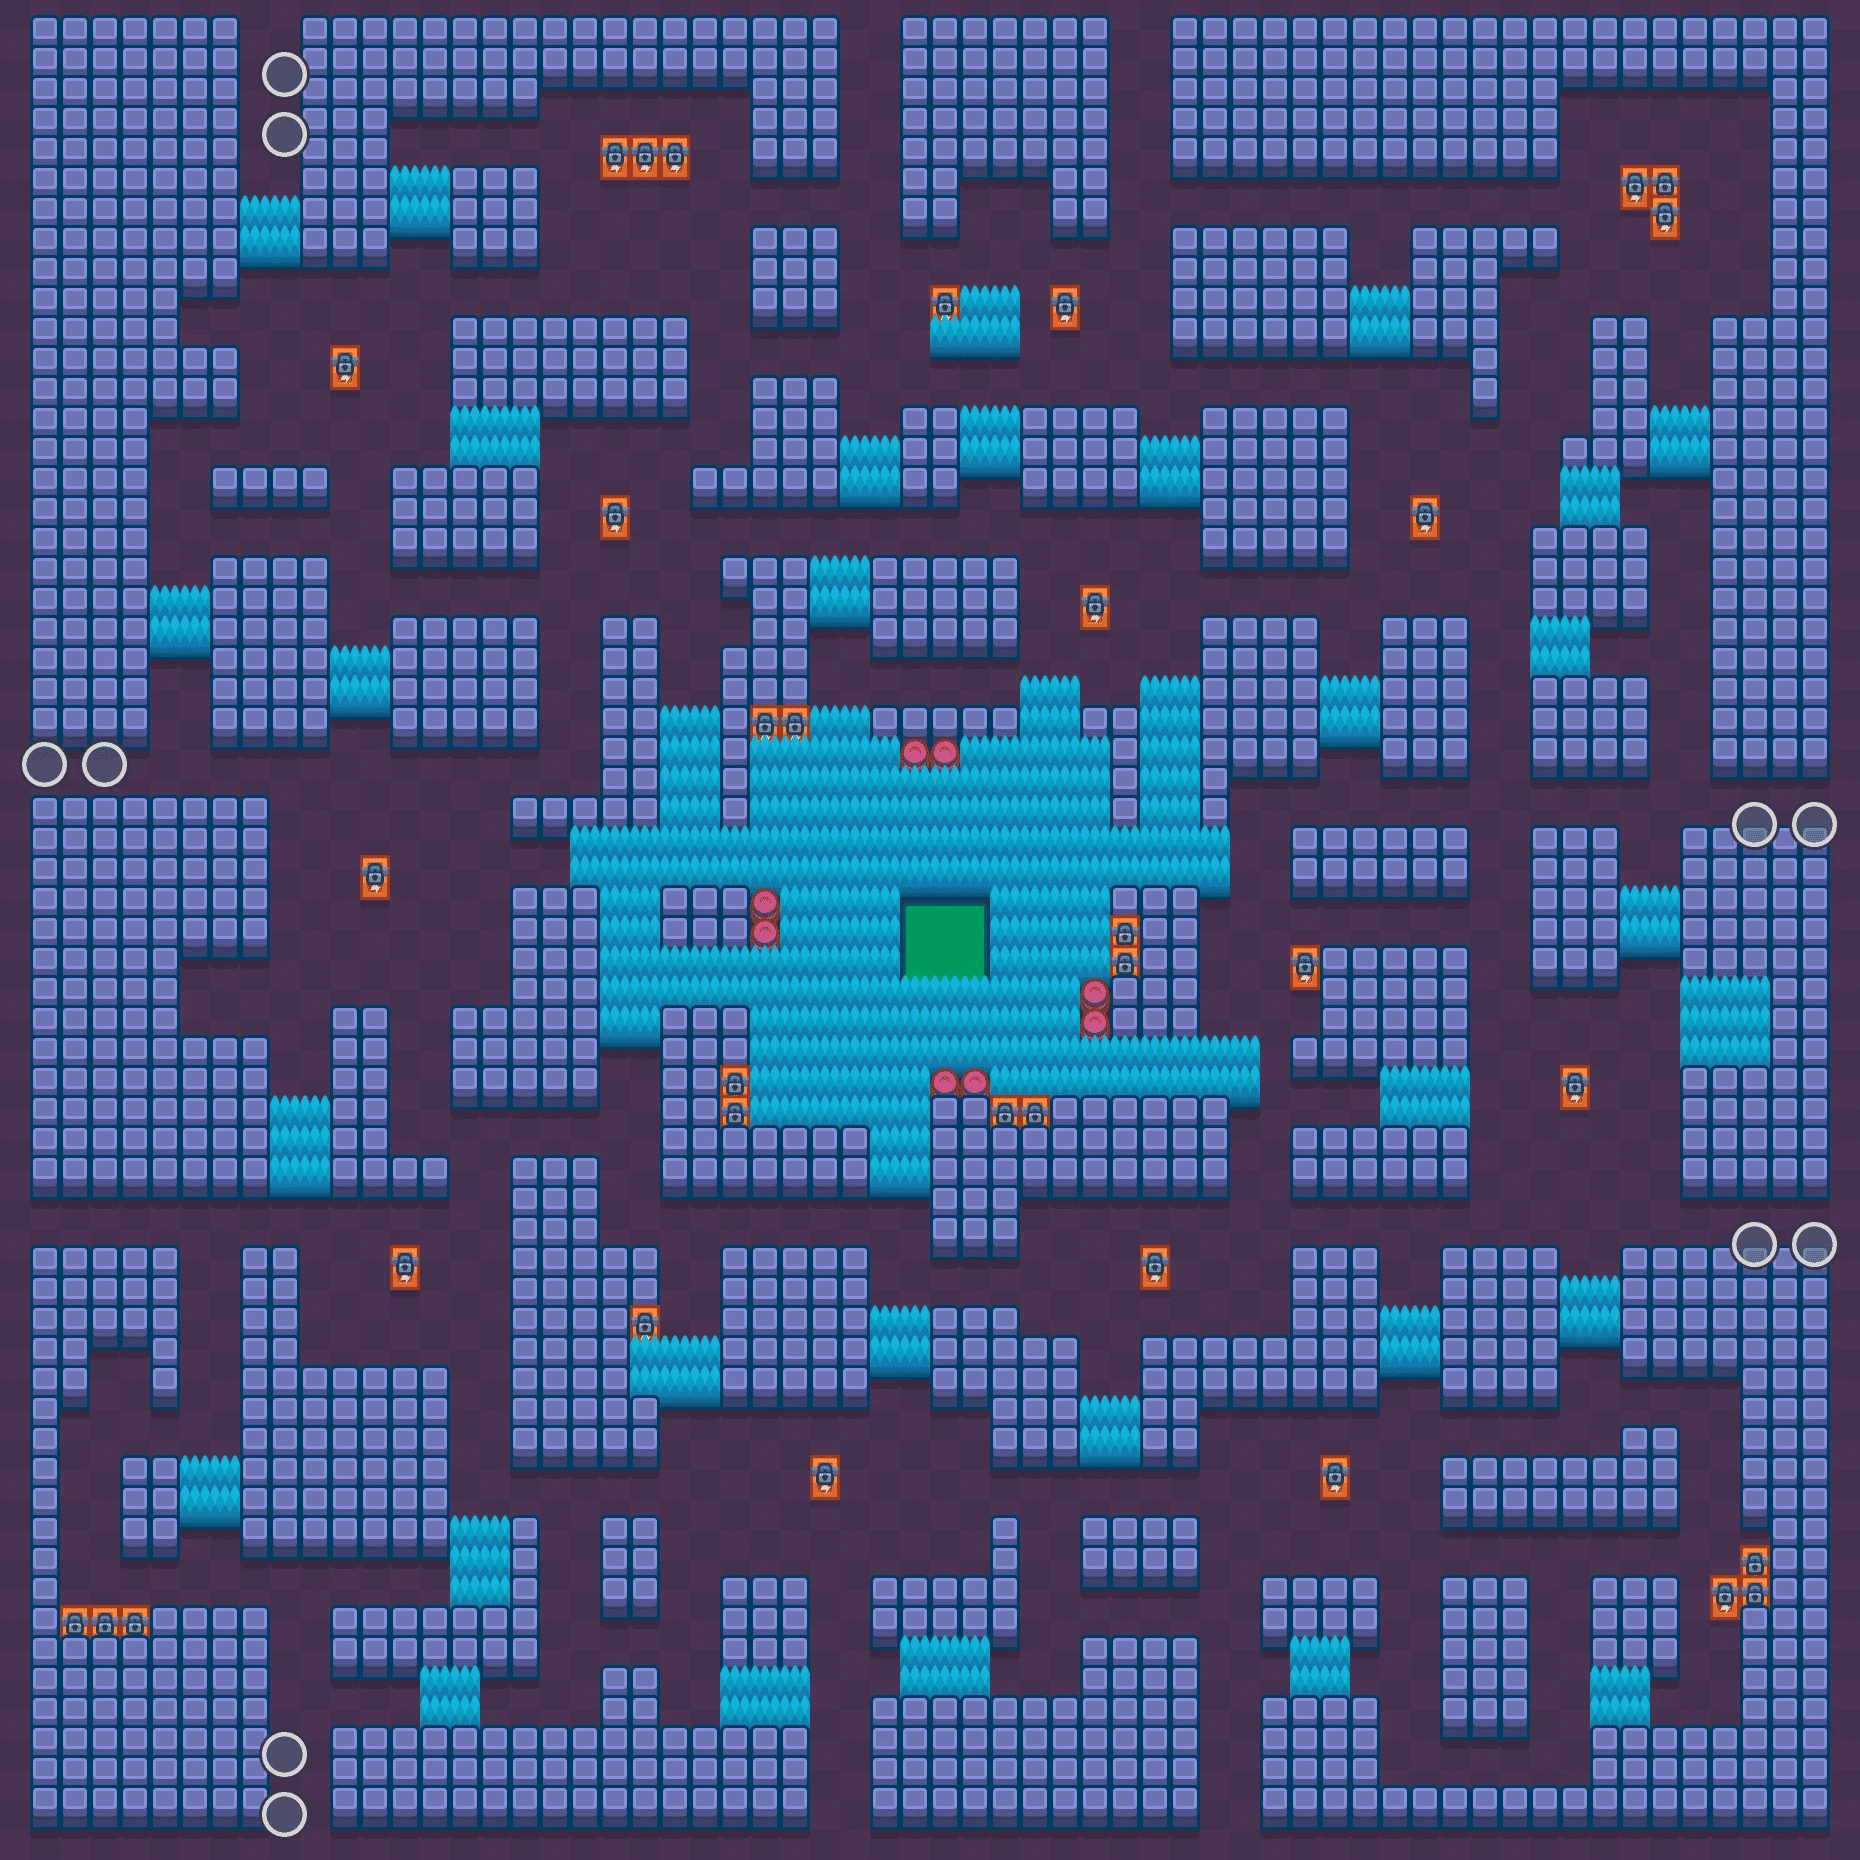
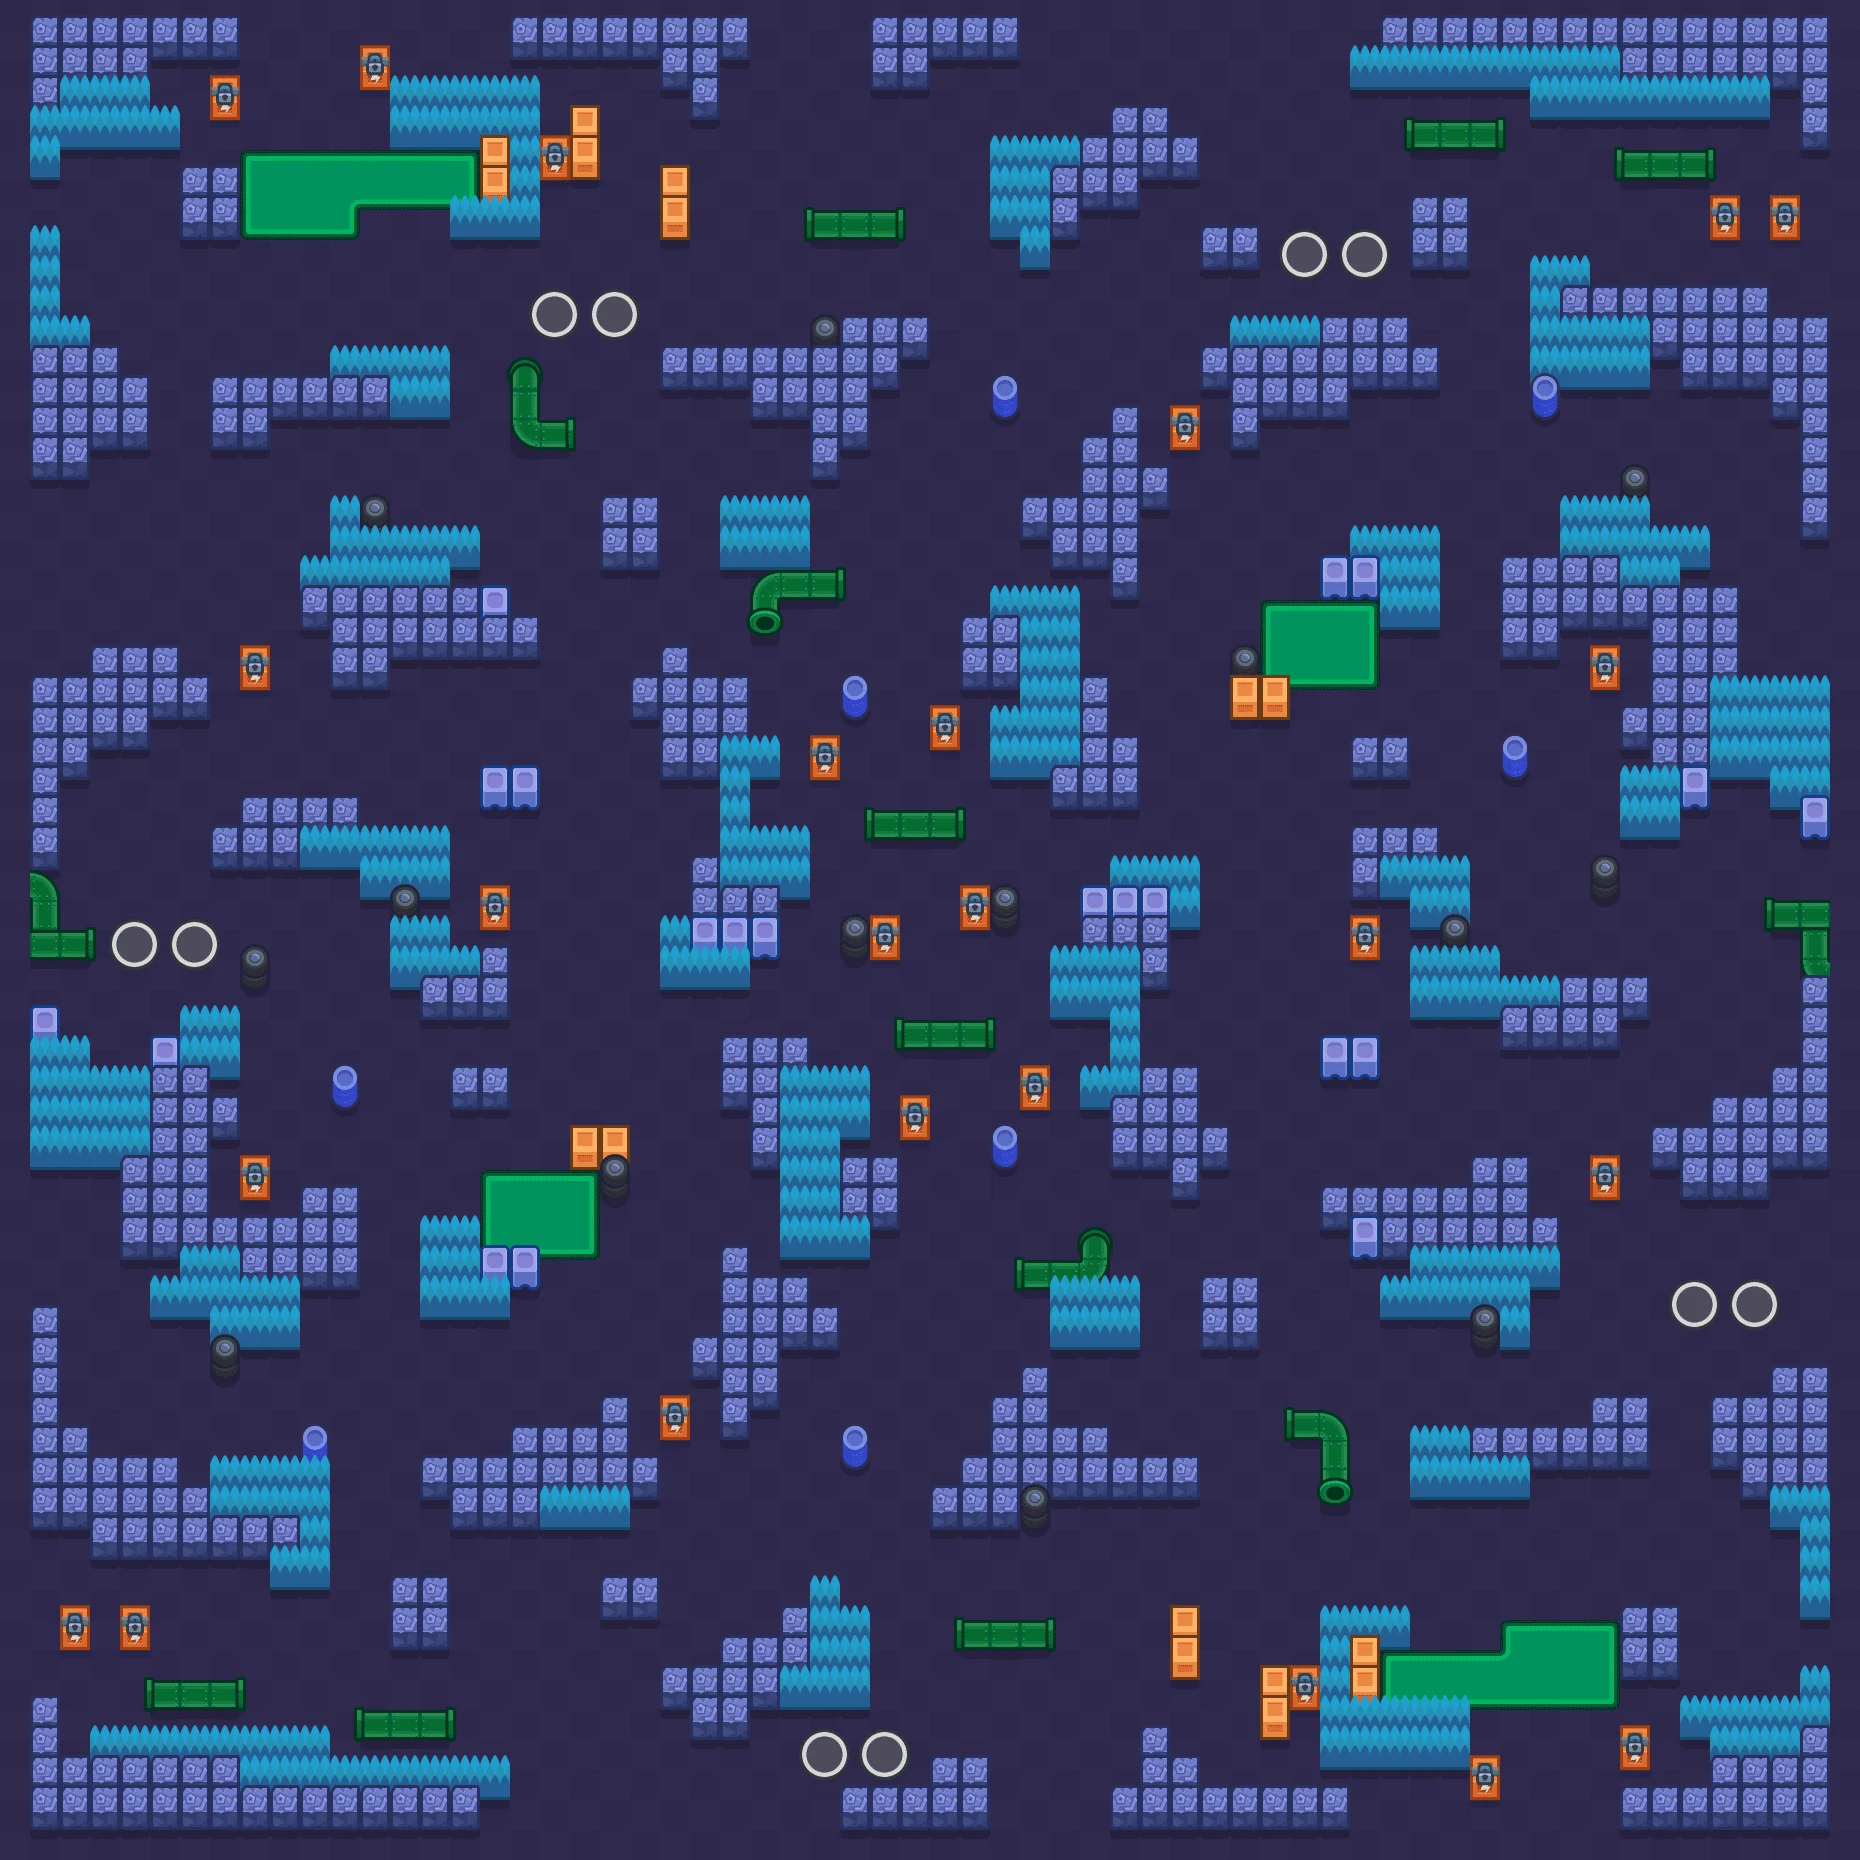
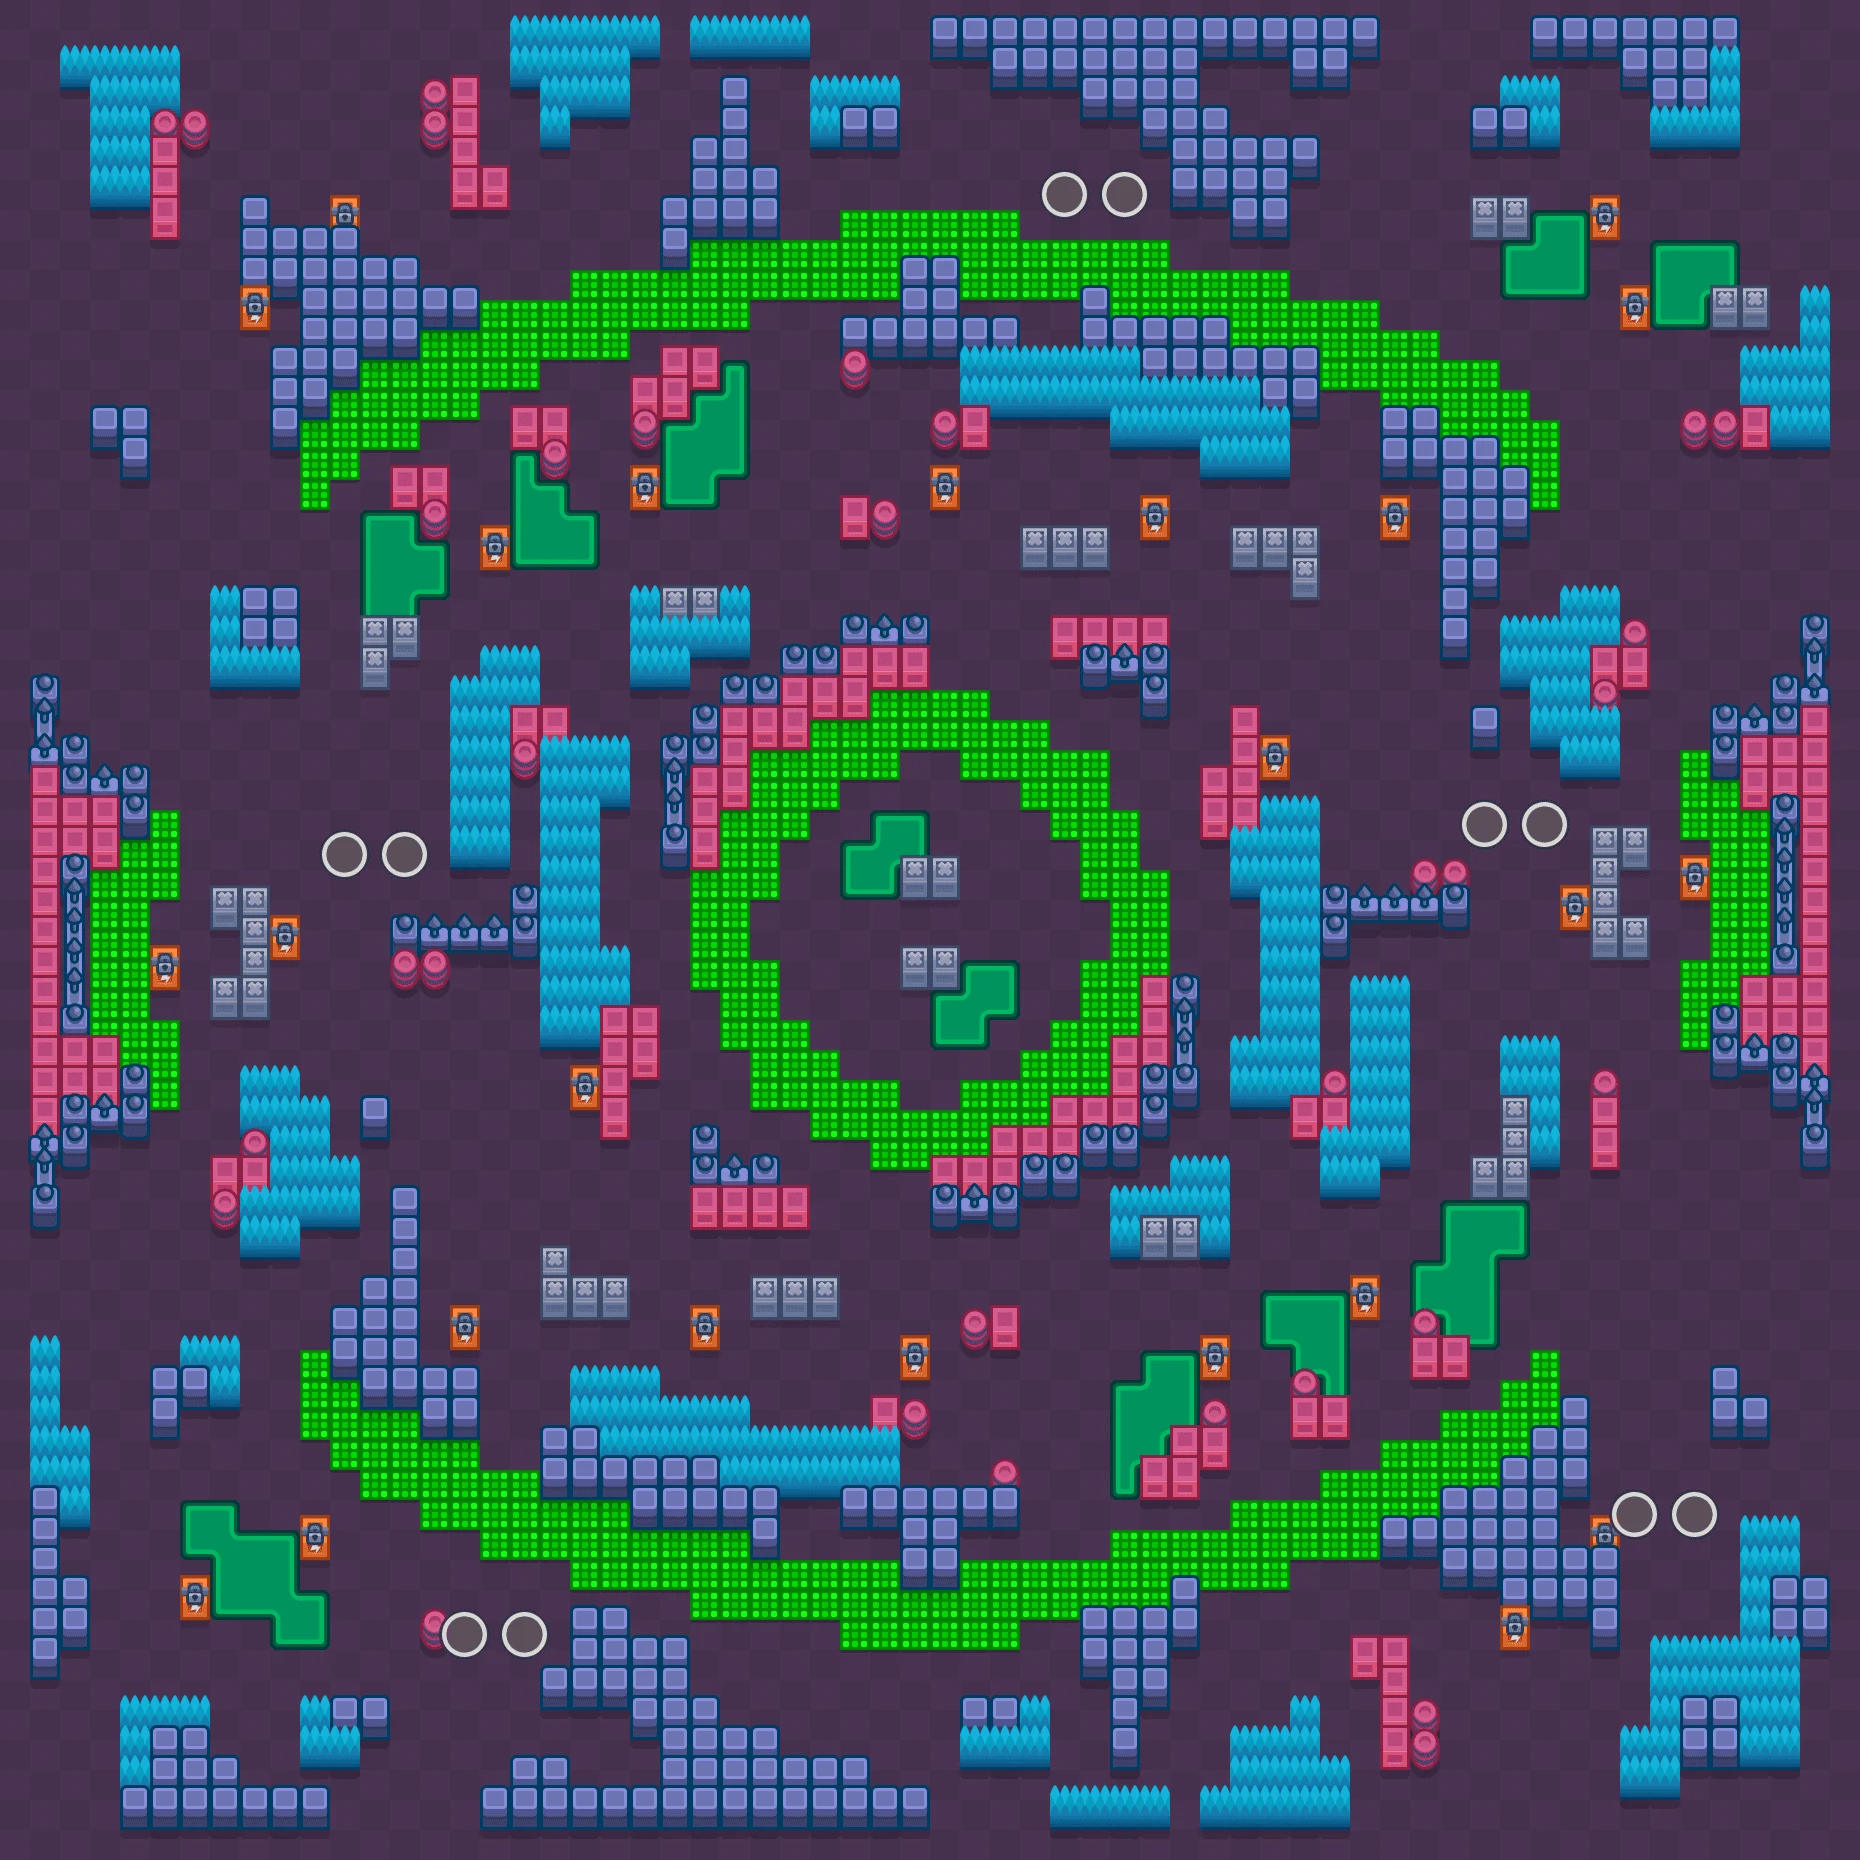
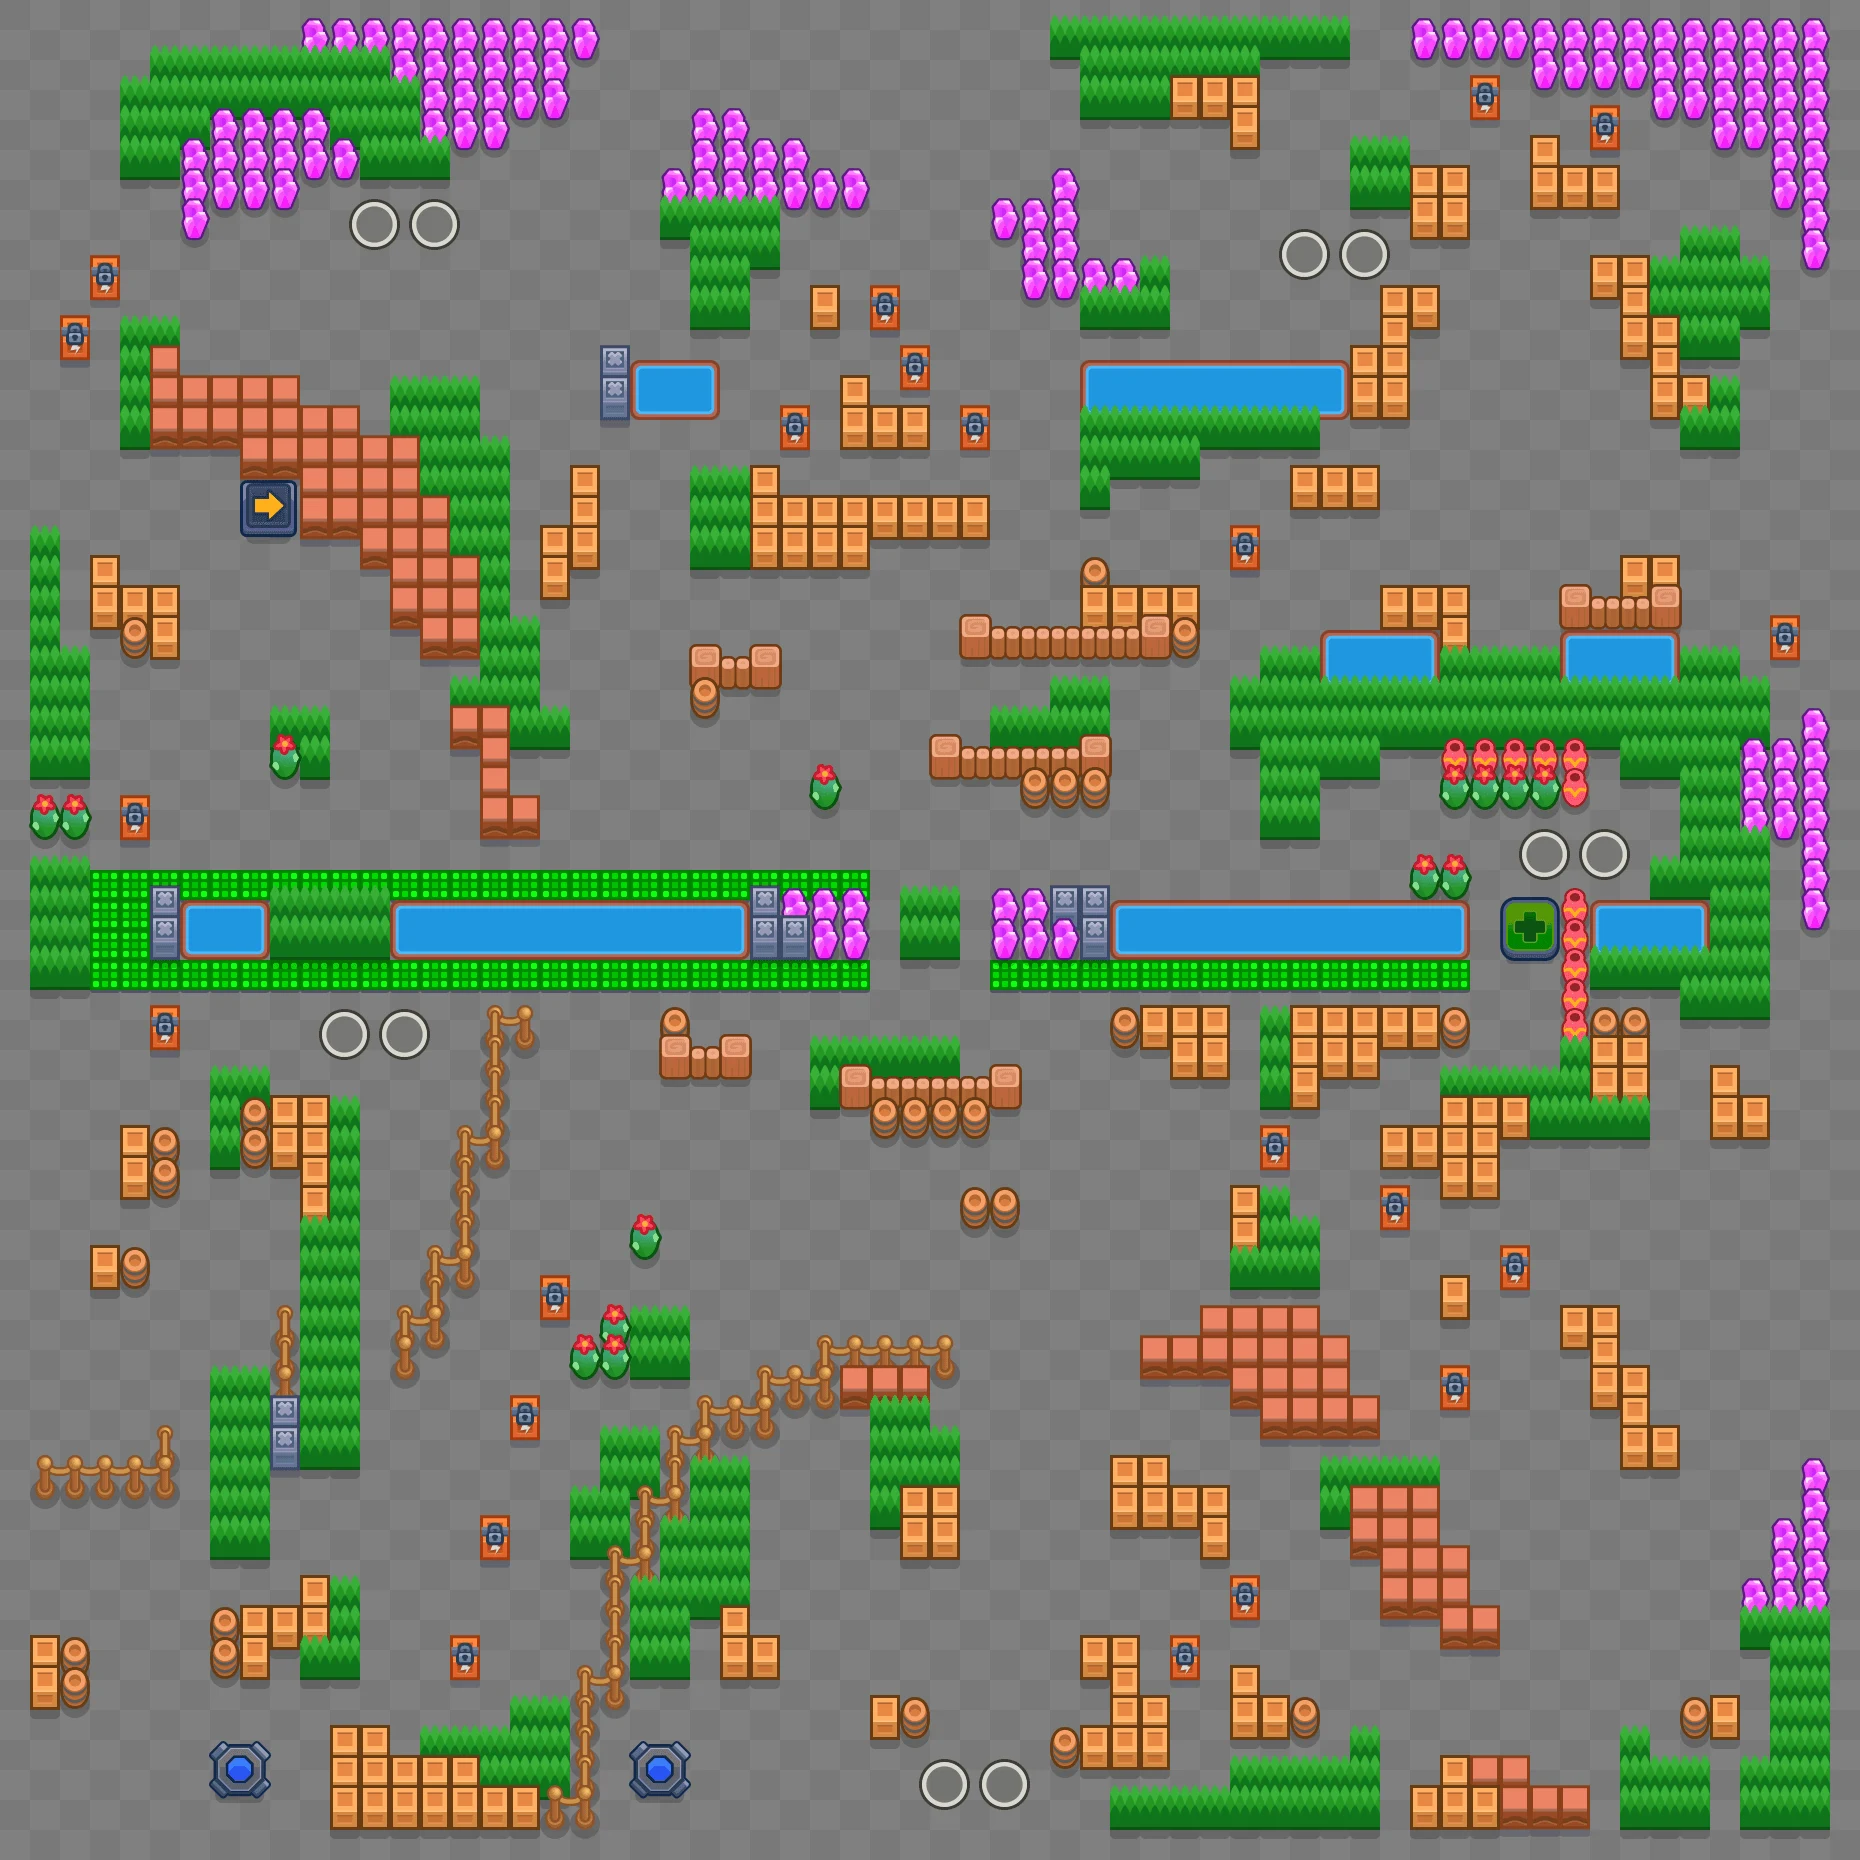
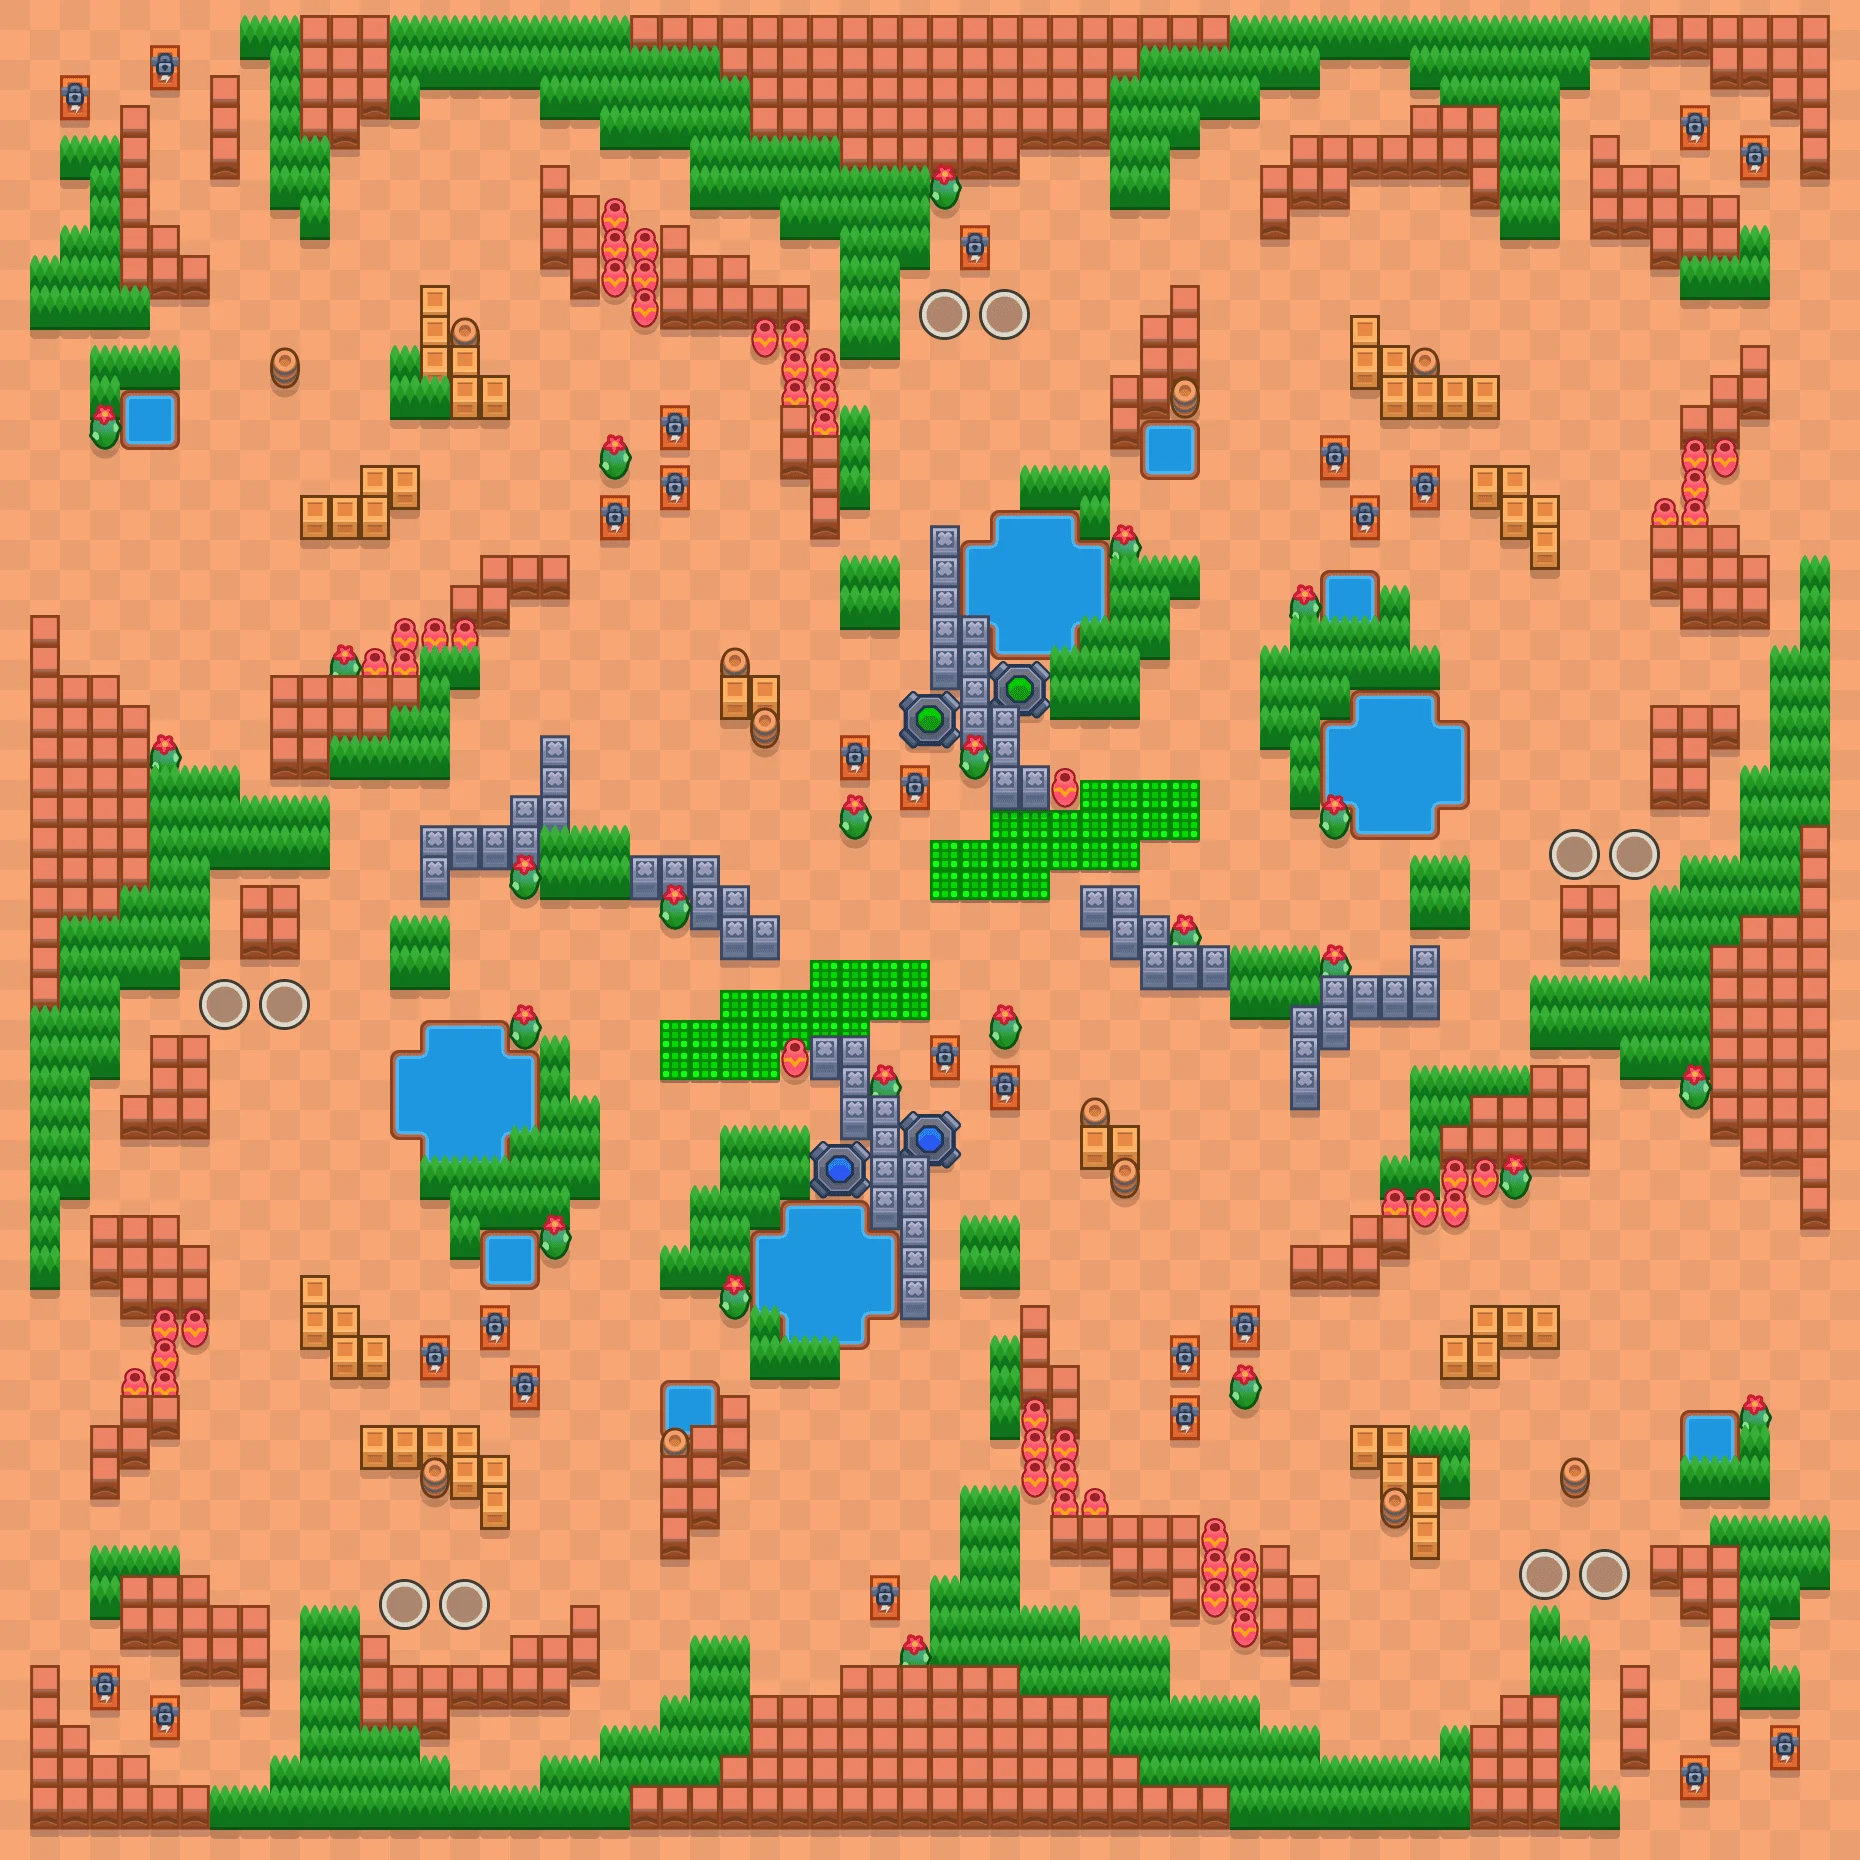
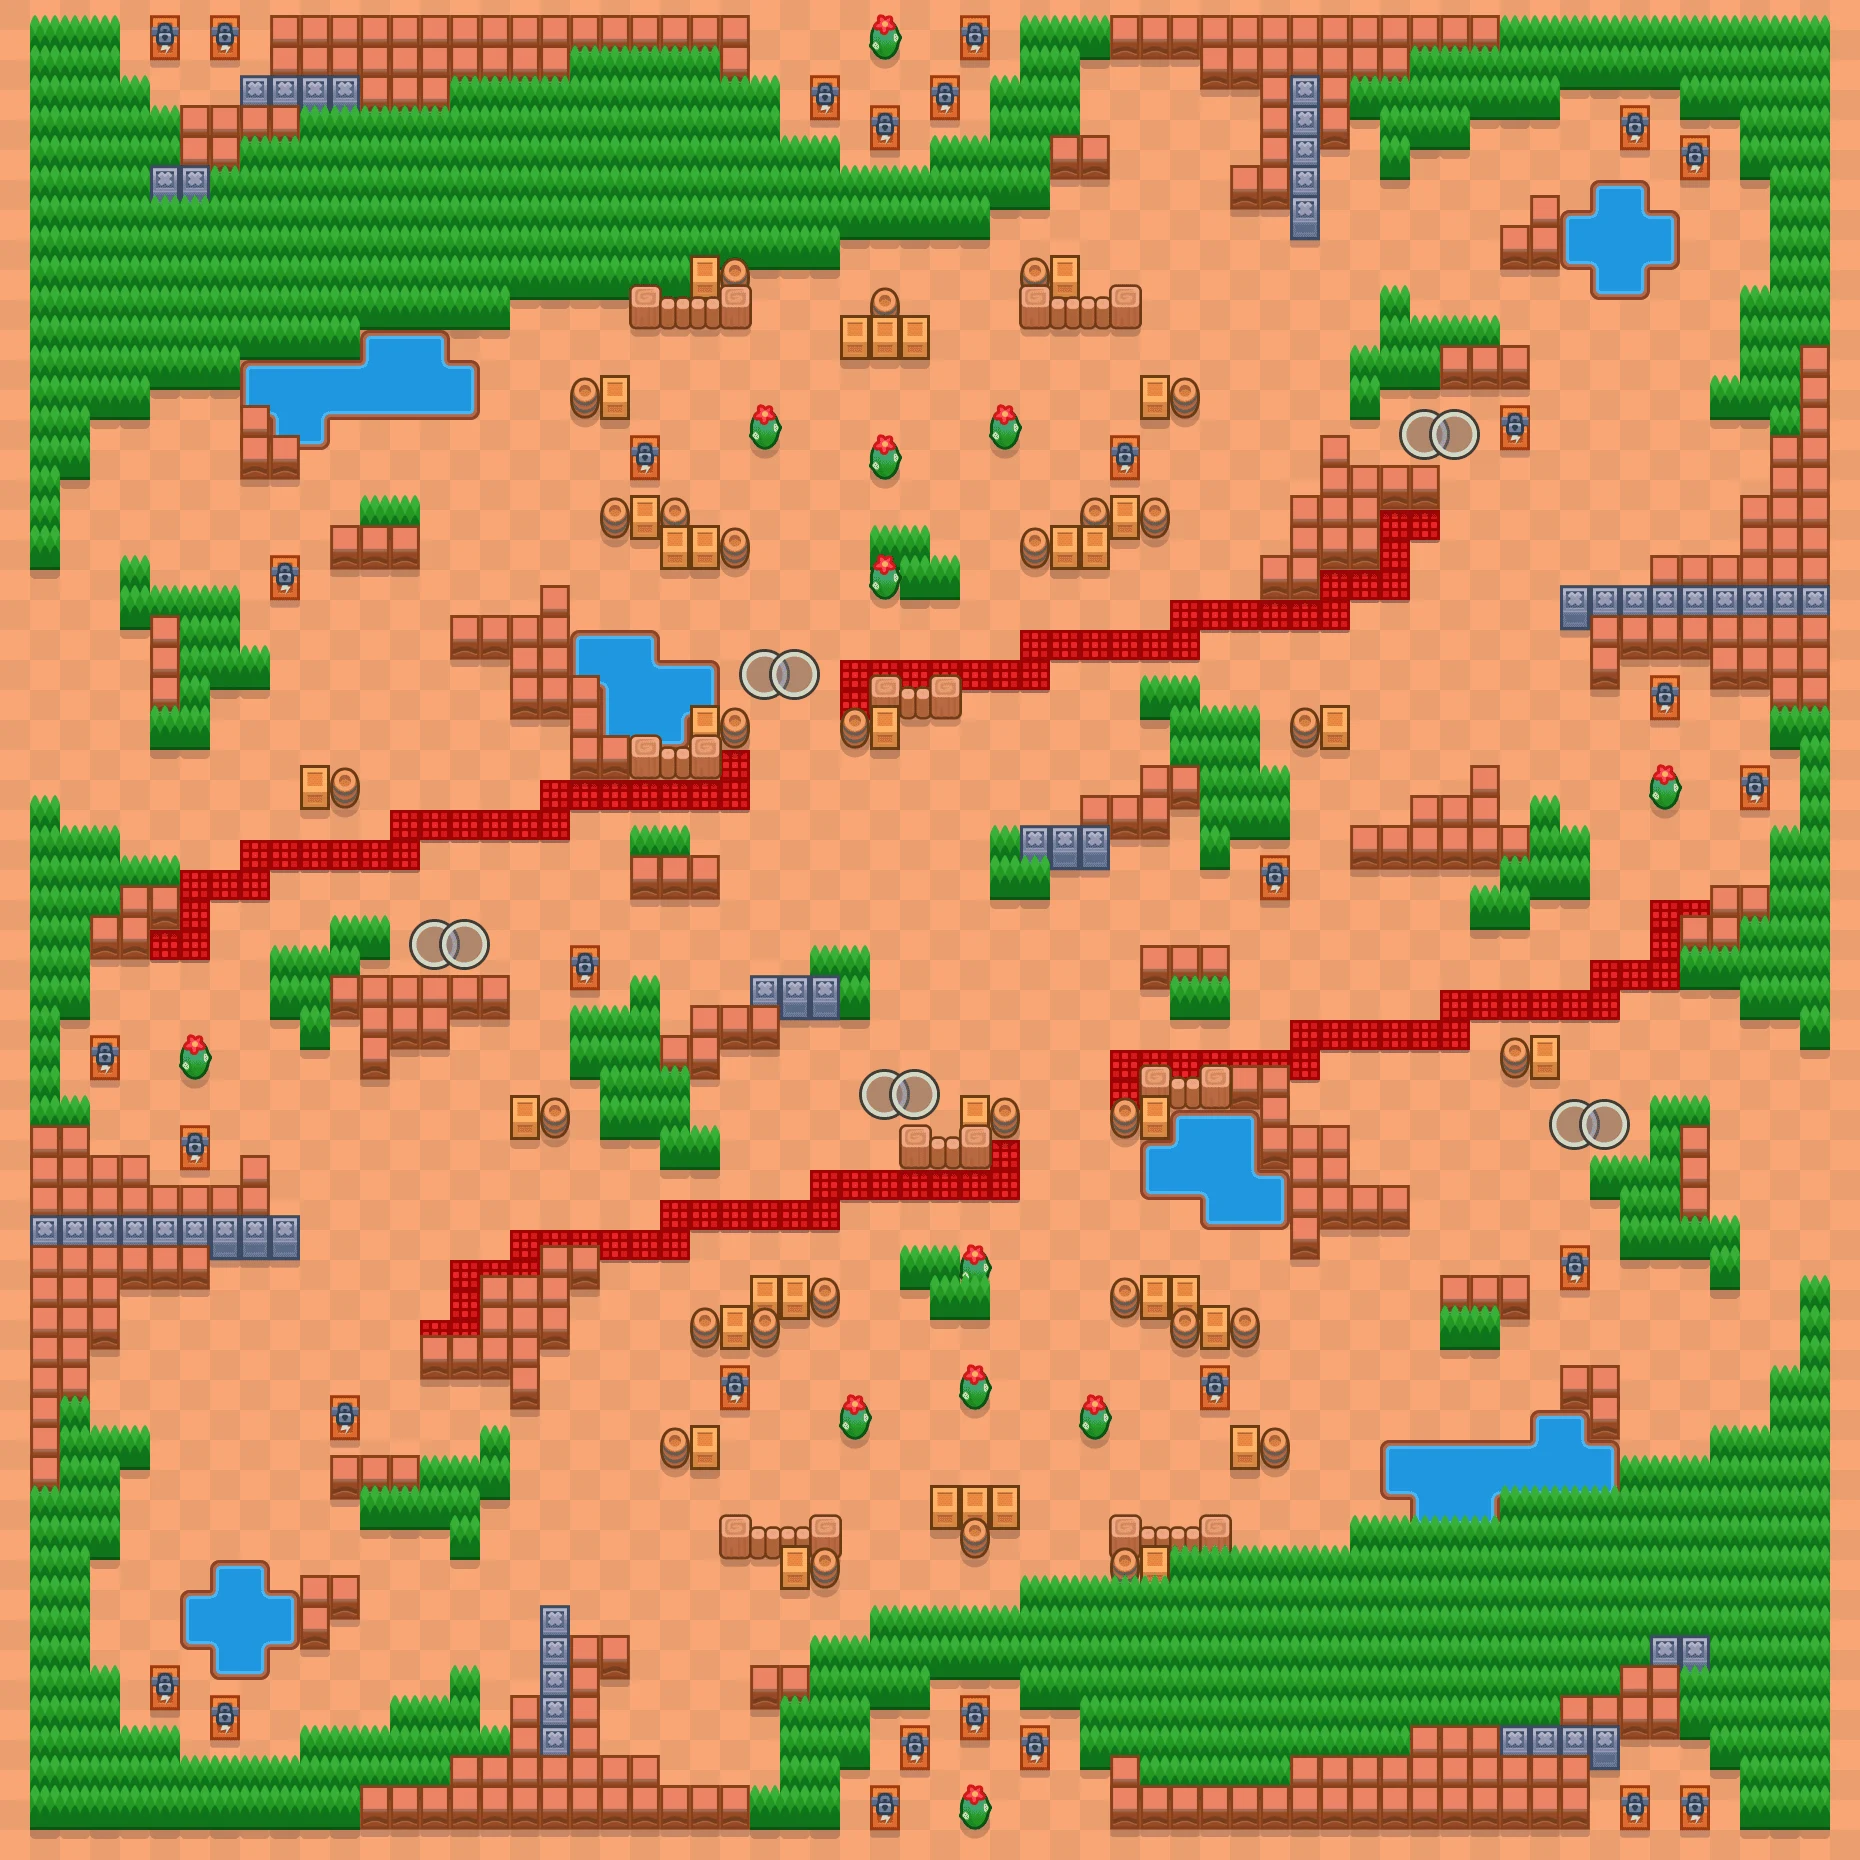
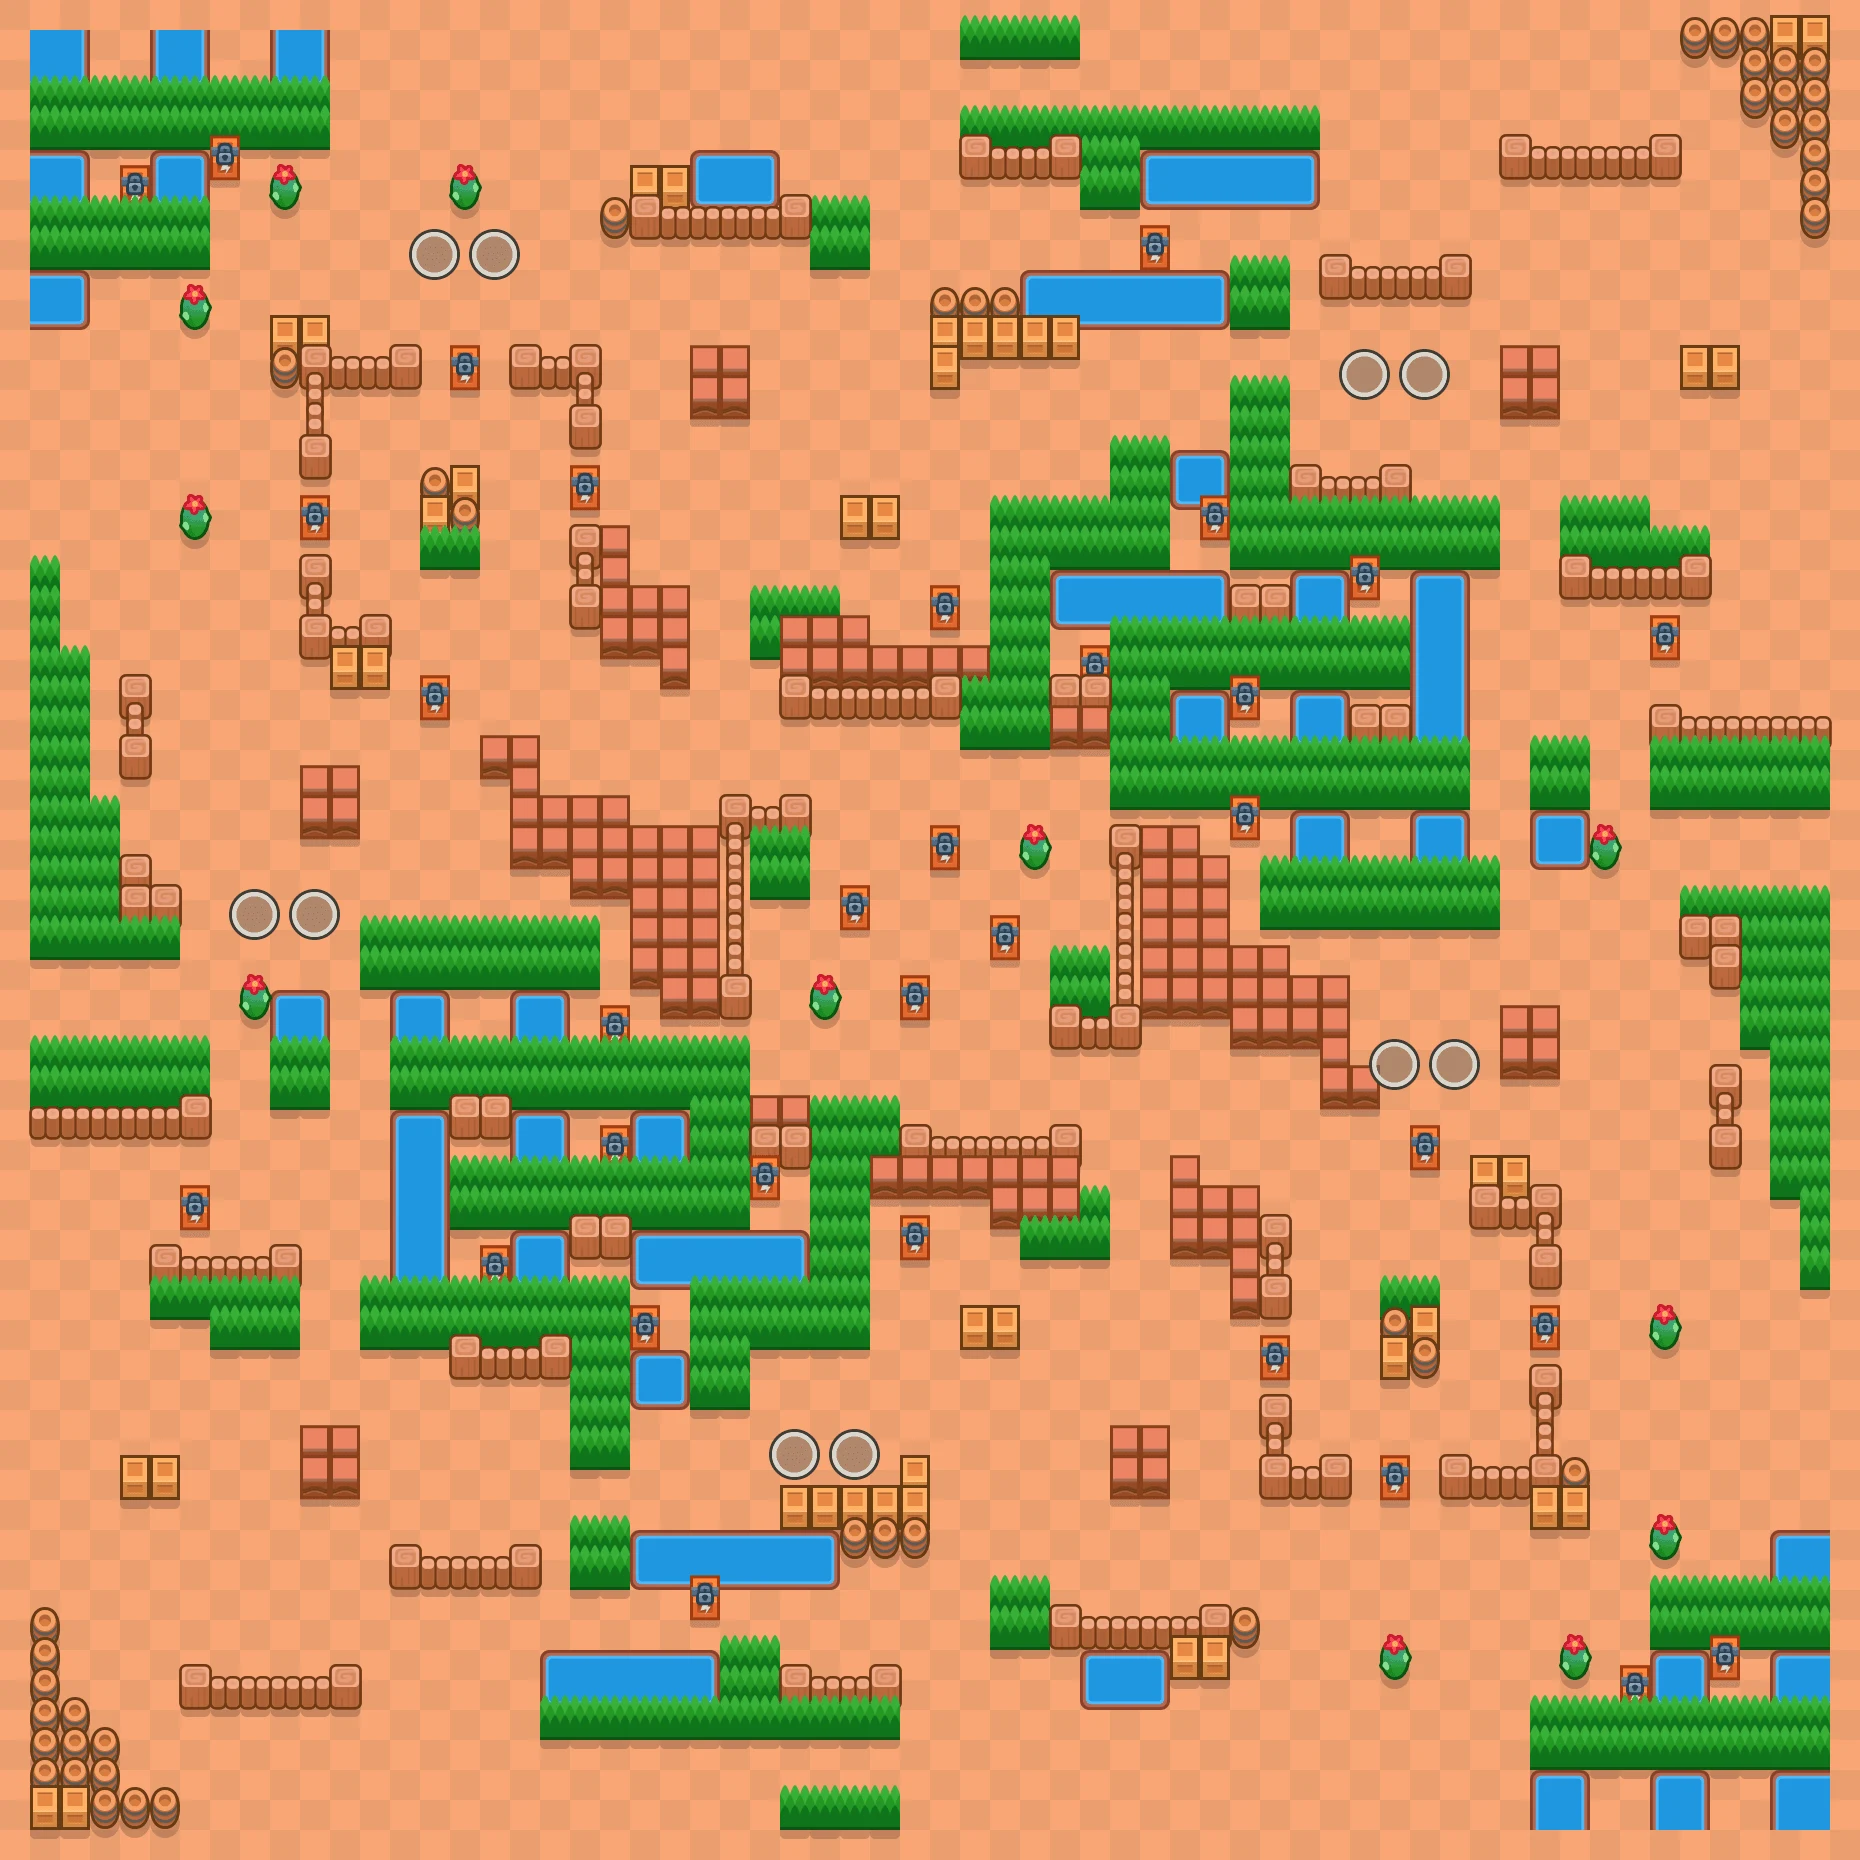
More Trio Showdown Maps
About this map
On Rockwall Brawl, a Trio Showdown map, 856,212 battles have been recorded so far across 10 tracked brawlers. Bonnie finishes first most often here, taking the top spot in 54.2% of games, with Charlie close behind at 53.9%. Trio Showdown maps need room for three-player squads to fight as a group without turning into total chaos, so open ground for team fights and tight corners for safe retreats both matter as the zone shrinks.
The most-used pick here isn't the strongest one, Bonnie still edges it out. Rockwall Brawl is between rotations at the moment, so these stats are from the last time it was live.
Rockwall Brawl FAQ
What's the strongest pick on Rockwall Brawl?
Bonnie has the best placement results on Rockwall Brawl, finishing first 54.2% of the time. Charlie (53.9%) and Draco (52.7%) are the next best options.
Who has the best top 4 finish rate on Rockwall Brawl?
Charlie has the best top 4 finish rate on Rockwall Brawl at 72.2%, across 4,892 recorded games. A high top 4 rate matters more than a single first-place finish since it reflects consistently surviving deep into the circle rather than one lucky run.
When is Rockwall Brawl next available?
Rockwall Brawl is a Trio Showdown map. It isn't currently in rotation; the stats above are from the last time it was live, and will keep updating the next time it comes back around. This page is built entirely from real recorded battles, never simulated or estimated numbers.