
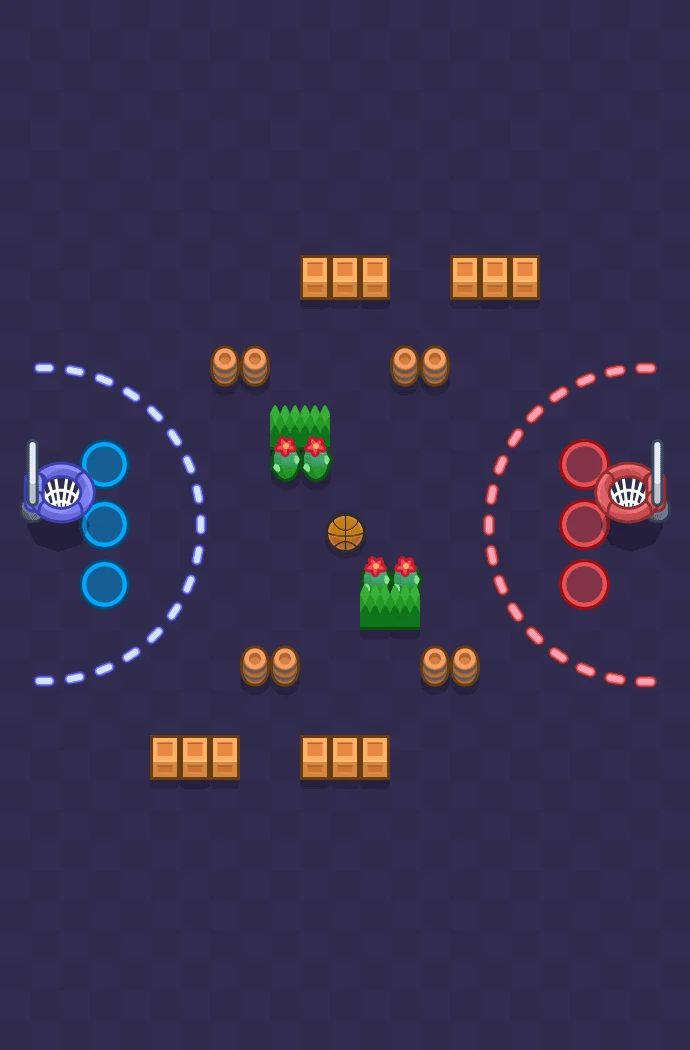
 Basket BrawlNot currently in rotation. Stats below are from its last appearance (Oct 13, 2026, 11:14 PM).
Triple-Double Best Brawlers
Best Brawlers for Triple-Double
Best Picks
High win rate and high use rate
Winners
Highest win rates on this map
Most Used
Most popular by use rate
Not Recommended
Low win and use rates
Full Brawler Rankings
34 brawlers with recorded picks on this map, ranked by win rate| Rank | Class | Brawler | Tier | ||
|---|---|---|---|---|---|
| 1 | Assassin |  Starr Nova Starr Nova | S | 68.9% | 1.1% |
| 2 | Assassin |  Nori Nori | A | 64.8% | 1.4% |
| 3 | Assassin |  Shade Shade | B | 63.3% | 1.8% |
| 4 | Controller |  Gale Gale | C | 62.9% | 1.5% |
| 5 | Controller |  Jessie Jessie | D | 58.9% | 1.8% |
| 6 | Support |  Gus Gus | S+ | 58.6% | 1.7% |
| 7 | Tank |  El Primo El Primo | C | 55.5% | 4% |
| 8 | Controller |  Sirius Sirius | A | 55.2% | 1.1% |
| 9 | Damage Dealer |  Colt Colt | C | 54.3% | 2.2% |
| 10 | Tank |  Bibi Bibi | C | 53.8% | 2.3% |
| 11 | Damage Dealer |  Rico Rico | C | 53.7% | 3.2% |
| 12 | Assassin |  Edgar Edgar | B | 53.7% | 4.4% |
| 13 | Tank |  Rosa Rosa | B | 50.6% | 1.6% |
| 14 | Damage Dealer |  Nita Nita | D | 49.7% | 1.9% |
| 15 | Damage Dealer |  Carl Carl | C | 49.6% | 1.5% |
| 16 | Damage Dealer |  Surge Surge | D | 48.6% | 1.5% |
| 17 | Damage Dealer |  8-Bit 8-Bit | D | 48.2% | 1.5% |
| 18 | Damage Dealer |  Colette Colette | B | 48.2% | 2.1% |
| 19 | Tank |  Frank Frank | C | 48.1% | 3% |
| 20 | Assassin |  Buzz Buzz | B | 47.9% | 1.3% |
| 21 | Assassin |  Fang Fang | C | 47.3% | 1.9% |
| 22 | Damage Dealer |  Spike Spike | C | 47% | 1.2% |
| 23 | Tank |  Bull Bull | B | 46.9% | 1.9% |
| 24 | Tank |  Darryl Darryl | D | 45.4% | 1.2% |
| 25 | Assassin |  Kenji Kenji | C | 44.9% | 1.4% |
| 26 | Support |  Poco Poco | C | 44.8% | 1.8% |
| 27 | Controller |  Griff Griff | B | 44.1% | 2.1% |
| 28 | Tank |  Jacky Jacky | D | 43.3% | 1.6% |
| 29 | Controller |  Emz Emz | D | 42.5% | 2.2% |
| 30 | Marksman |  Brock Brock | C | 41.1% | 2.6% |
| 31 | Damage Dealer |  Shelly Shelly | D | 40.6% | 1.7% |
| 32 | Artillery |  Barley Barley | D | 39.6% | 1.1% |
| 33 | Artillery |  Tick Tick | D | 38.6% | 1.3% |
| 34 | Artillery |  Dynamike Dynamike | D | 37.5% | 1.3% |
More Basket Brawl Maps
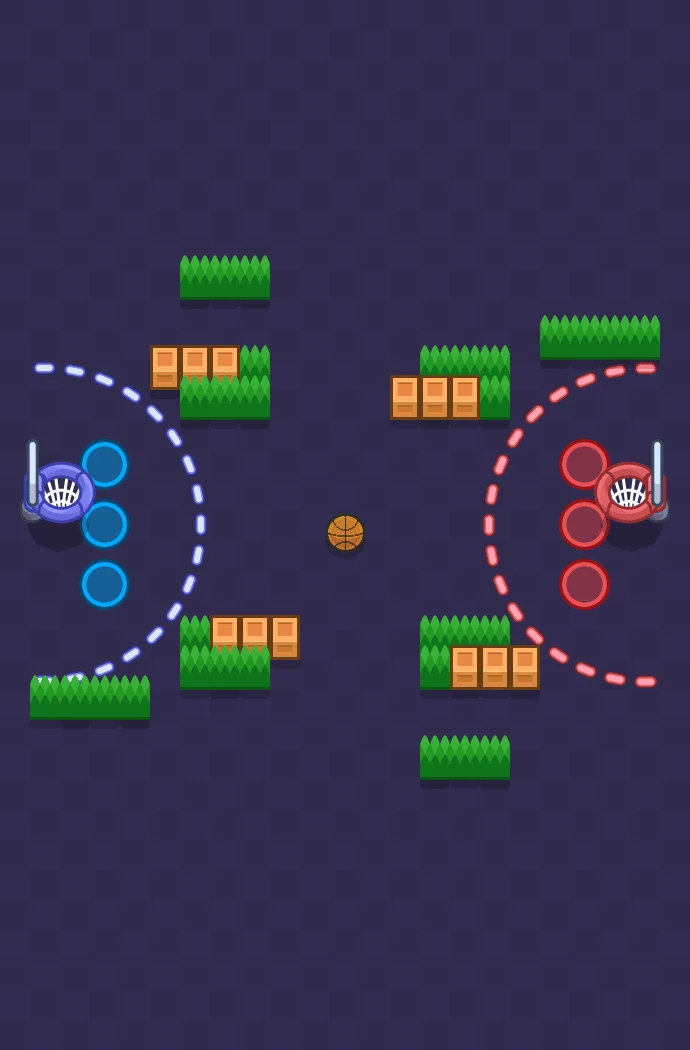
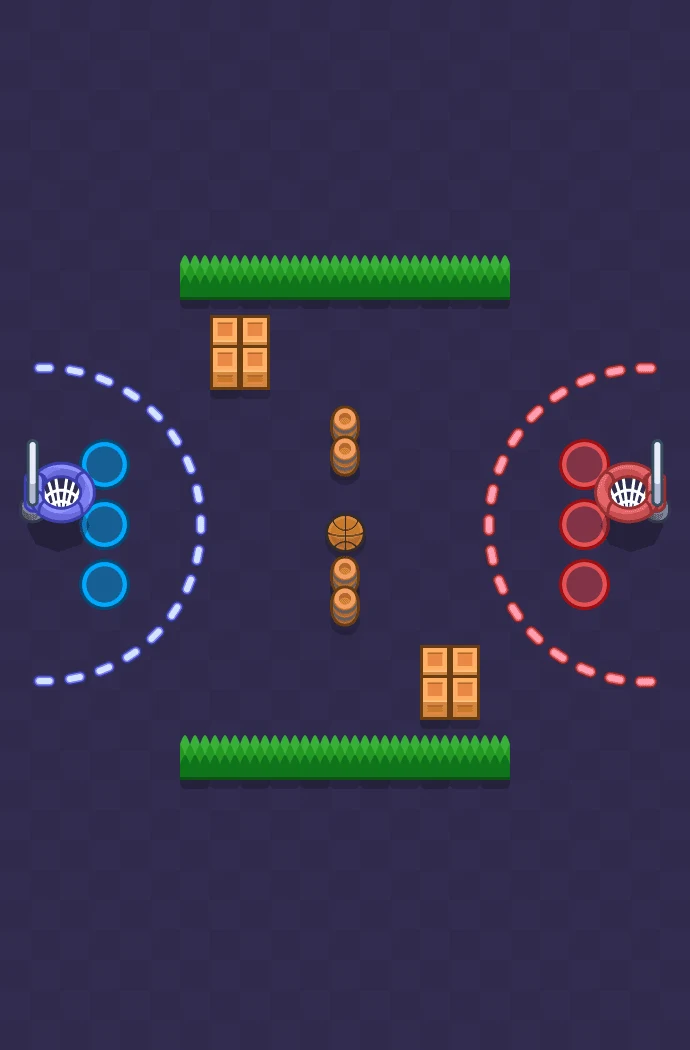
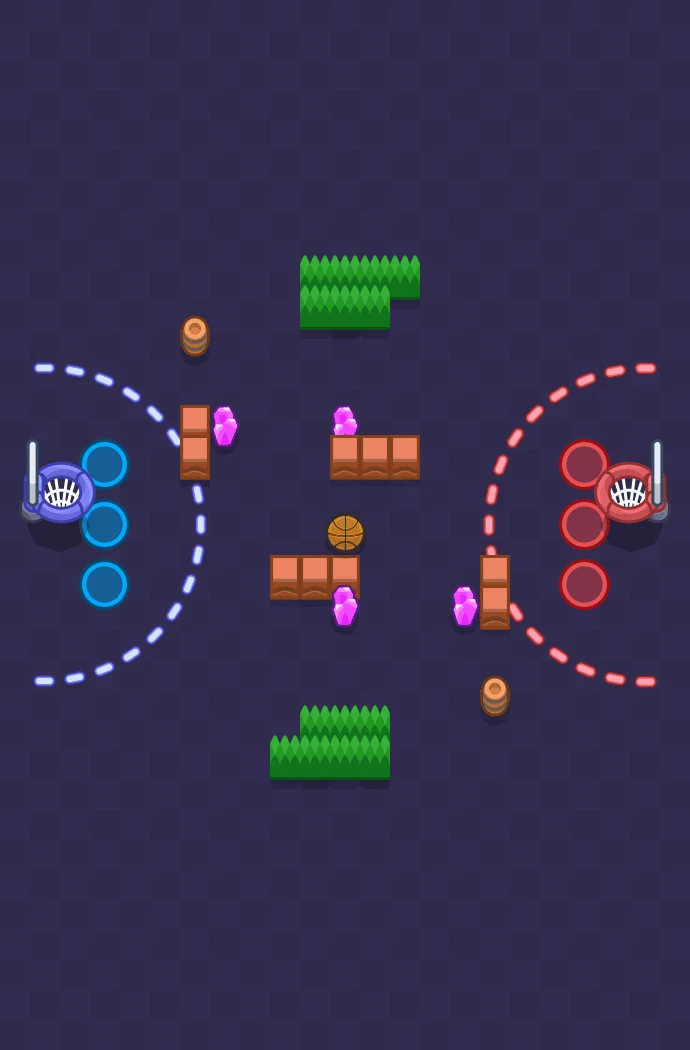
About this map
Triple-Double is a Basket Brawl map in Brawl Stars, with 9,522 battles recorded across 34 tracked brawlers. The strongest pick right now is Starr Nova at 68.9%. Nori is the next best option at 64.8%. The most-picked brawler here is Edgar (4.4% use rate), landing a 53.7% win rate. Basket Brawl maps each play a little differently depending on layout, cover, and how the objective is positioned, so the best picks on Triple-Double are not automatically the best picks on every other Basket Brawl map.
Starr Nova stands out here, winning 19 percentage points more than the average brawler tracked on this map. The most-used pick here isn't the strongest one, Starr Nova still edges it out. Dynamike is one to avoid, sitting at just 37.5% on this map. That said, Triple-Double has since rotated out, so this reflects its most recent stretch in rotation rather than live play.
Triple-Double FAQ
Which brawler wins most on Triple-Double?
Starr Nova has the highest win rate on Triple-Double at 68.9%. Nori (64.8%) and Shade (63.3%) are the next strongest picks.
What is the most used brawler on Triple-Double?
Edgar is the most-used brawler on Triple-Double, appearing in 4.4% of tracked games with a 53.7% win rate. Popularity and win rate don't always line up, so it's worth checking the full rankings table before assuming the most common pick is the best one.
What are the worst picks on Triple-Double?
Dynamike, Tick and Barley have the weakest combination of win rate and use rate on Triple-Double, with Dynamike sitting at 37.5%. These aren't unplayable, but they're fighting the map's layout rather than working with it.
Is Triple-Double in rotation right now?
Triple-Double is a Basket Brawl map. It isn't currently in rotation; the stats above are from the last time it was live, and will keep updating the next time it comes back around. This page is built entirely from real recorded battles, never simulated or estimated numbers.